MAKE IT
Festive Flowered
Gingerbread House
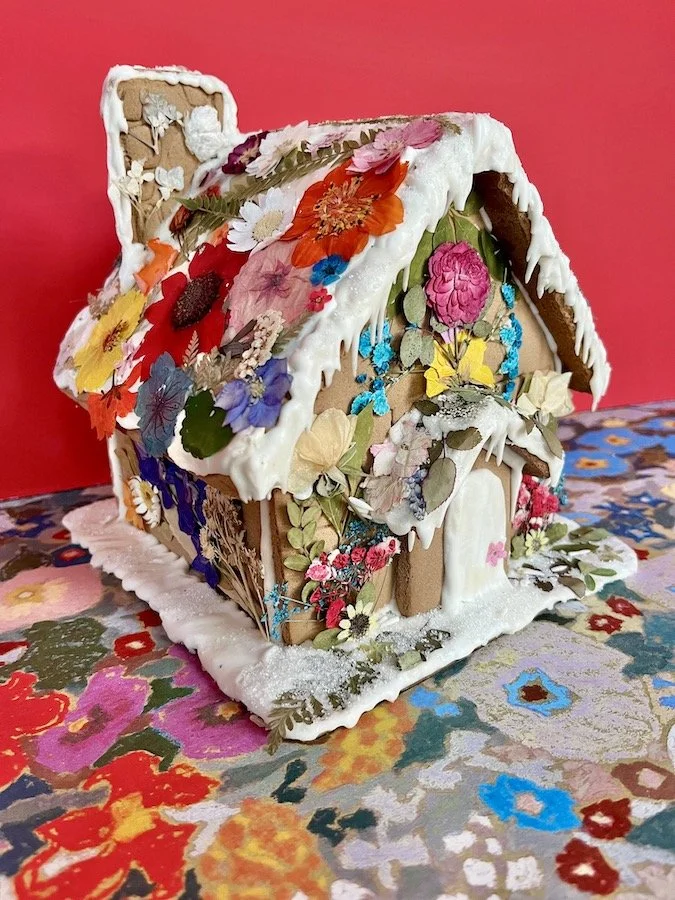
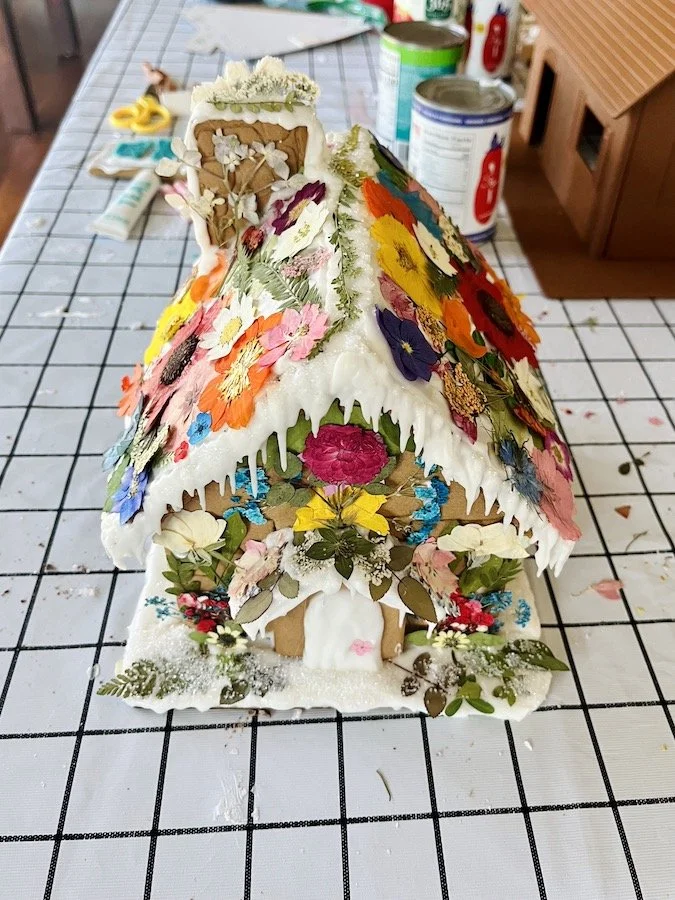
While we looooove decorating gingerbread houses with icing, candy, and cookies, making a flower-covered cottage is its own kind of fun – and one that you can keep for years to come.
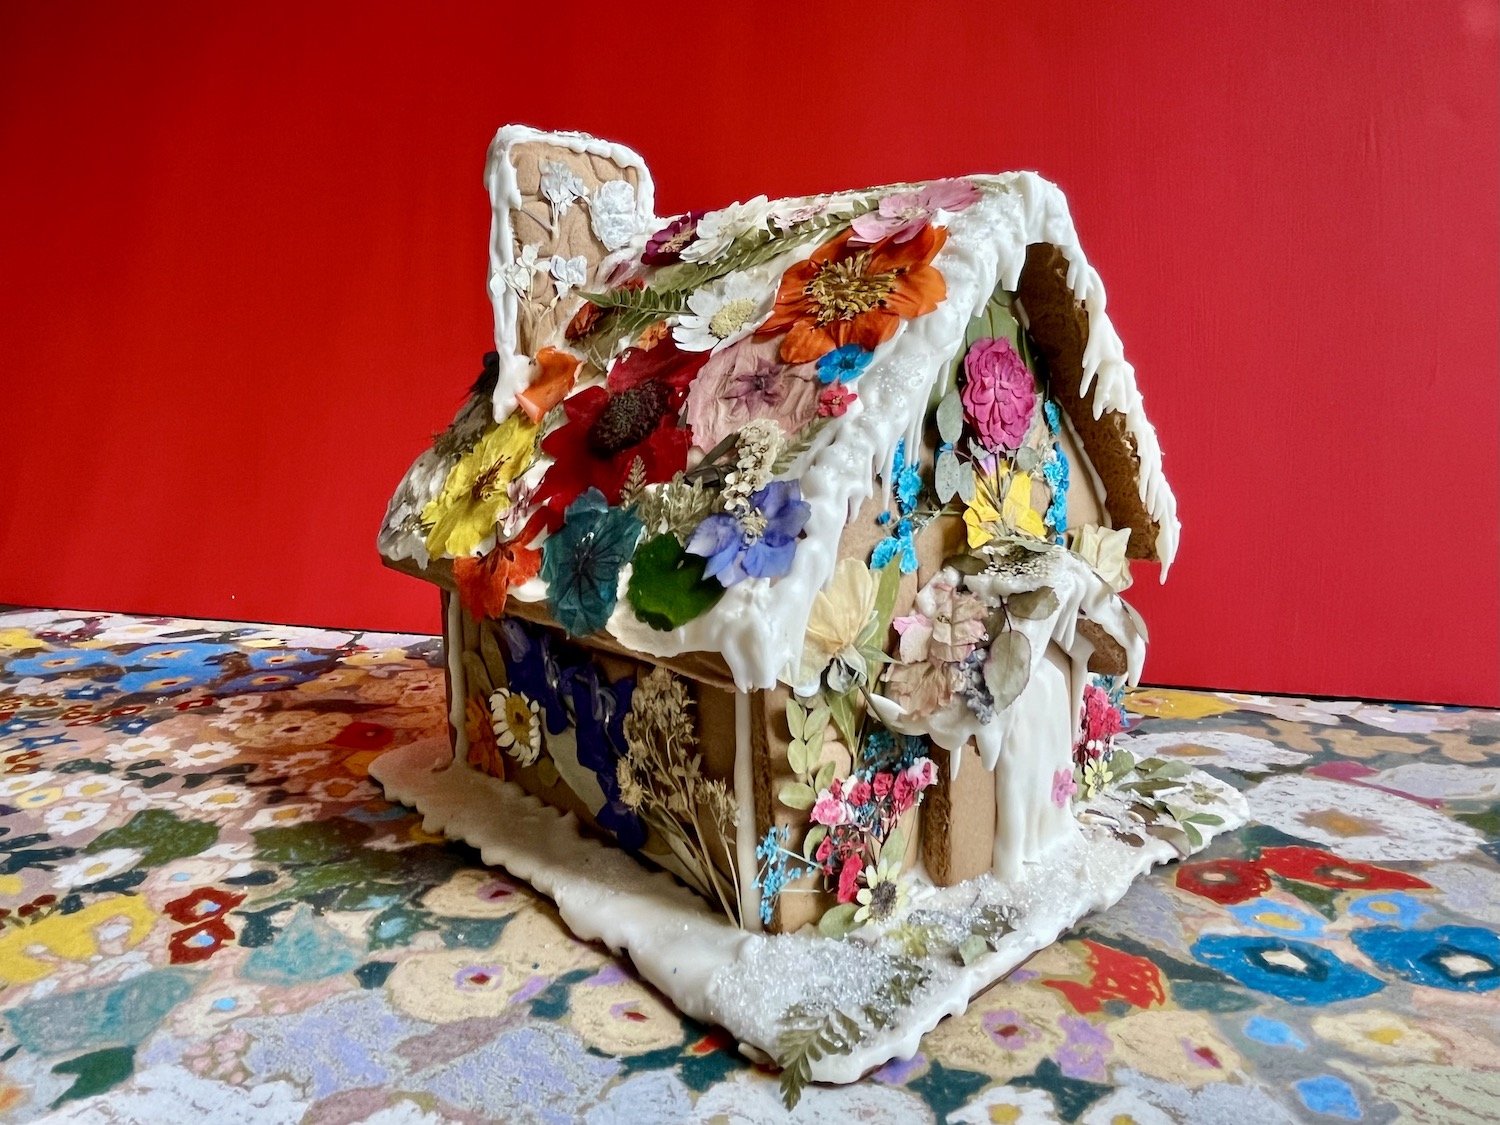
Making your own version is fairly easy, especially if you’re using a store-bought gingerbread house kit like we did.
If you want to bake your own from scratch, go for it, or if you want to purchase a pre-made / pre-constructed plain gingerbread house, that works, too!
Whatever you’re feeling, whatever makes you happy – do it your way. Personally, we just like doing the decorating part, especially when it’s accompanied by a mug of spiked hot chocolate and Mariah on repeat.
No special skills are required, other than a bit of patience, and your decorating can be as maximalist or minimalist as you’d like (we hear that the latter is possible, though we’re not actually capable of it over here).
Use a palette of colors that are traditional to the holidays you celebrate, or cover your gingerbread house with flowers in every color of the rainbow, from any season you’d like.
No limits, no rules – the aim is festivity, not perfection!

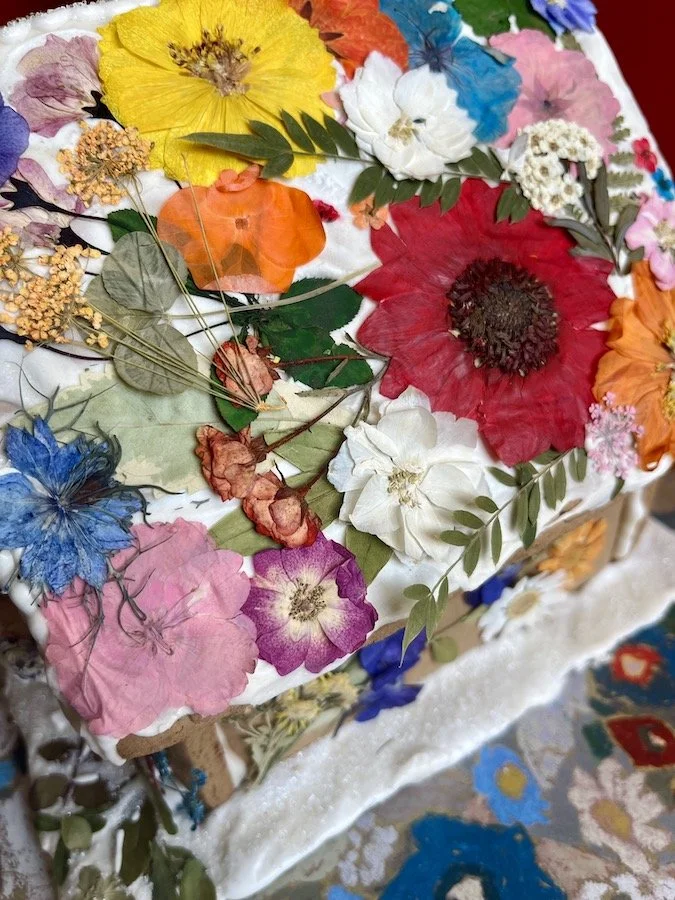
The pressed flowers used here are just craft supplies that can be found at a local art/craft store or online (links below). If you're the kind of person who’s already pressed your own flowers, of course those would work, too.
There are so many ways to decorate with flowers, especially if you want to plan a season ahead and press the flowers you’re growing in your own garden, ones from the gardens from friends & family, or from other places that are special to you.
Or use any flower decorations you might already have, 3D scrapbooking embellishments, flowers cut from magazines or pictures – don’t hold back on getting creative!
Supplies
A gingerbread house or cottage, with a base
Use one from a kit, buy one that’s already pre-made and constructed for you, or bake one from scratch–whatever you’d like! Alternatively, you could purchase a “forever” gingerbread house like this or a set of cardboard ones for group use like these or these, if you want to skip the whole cookie part of it all.Pressed flowers
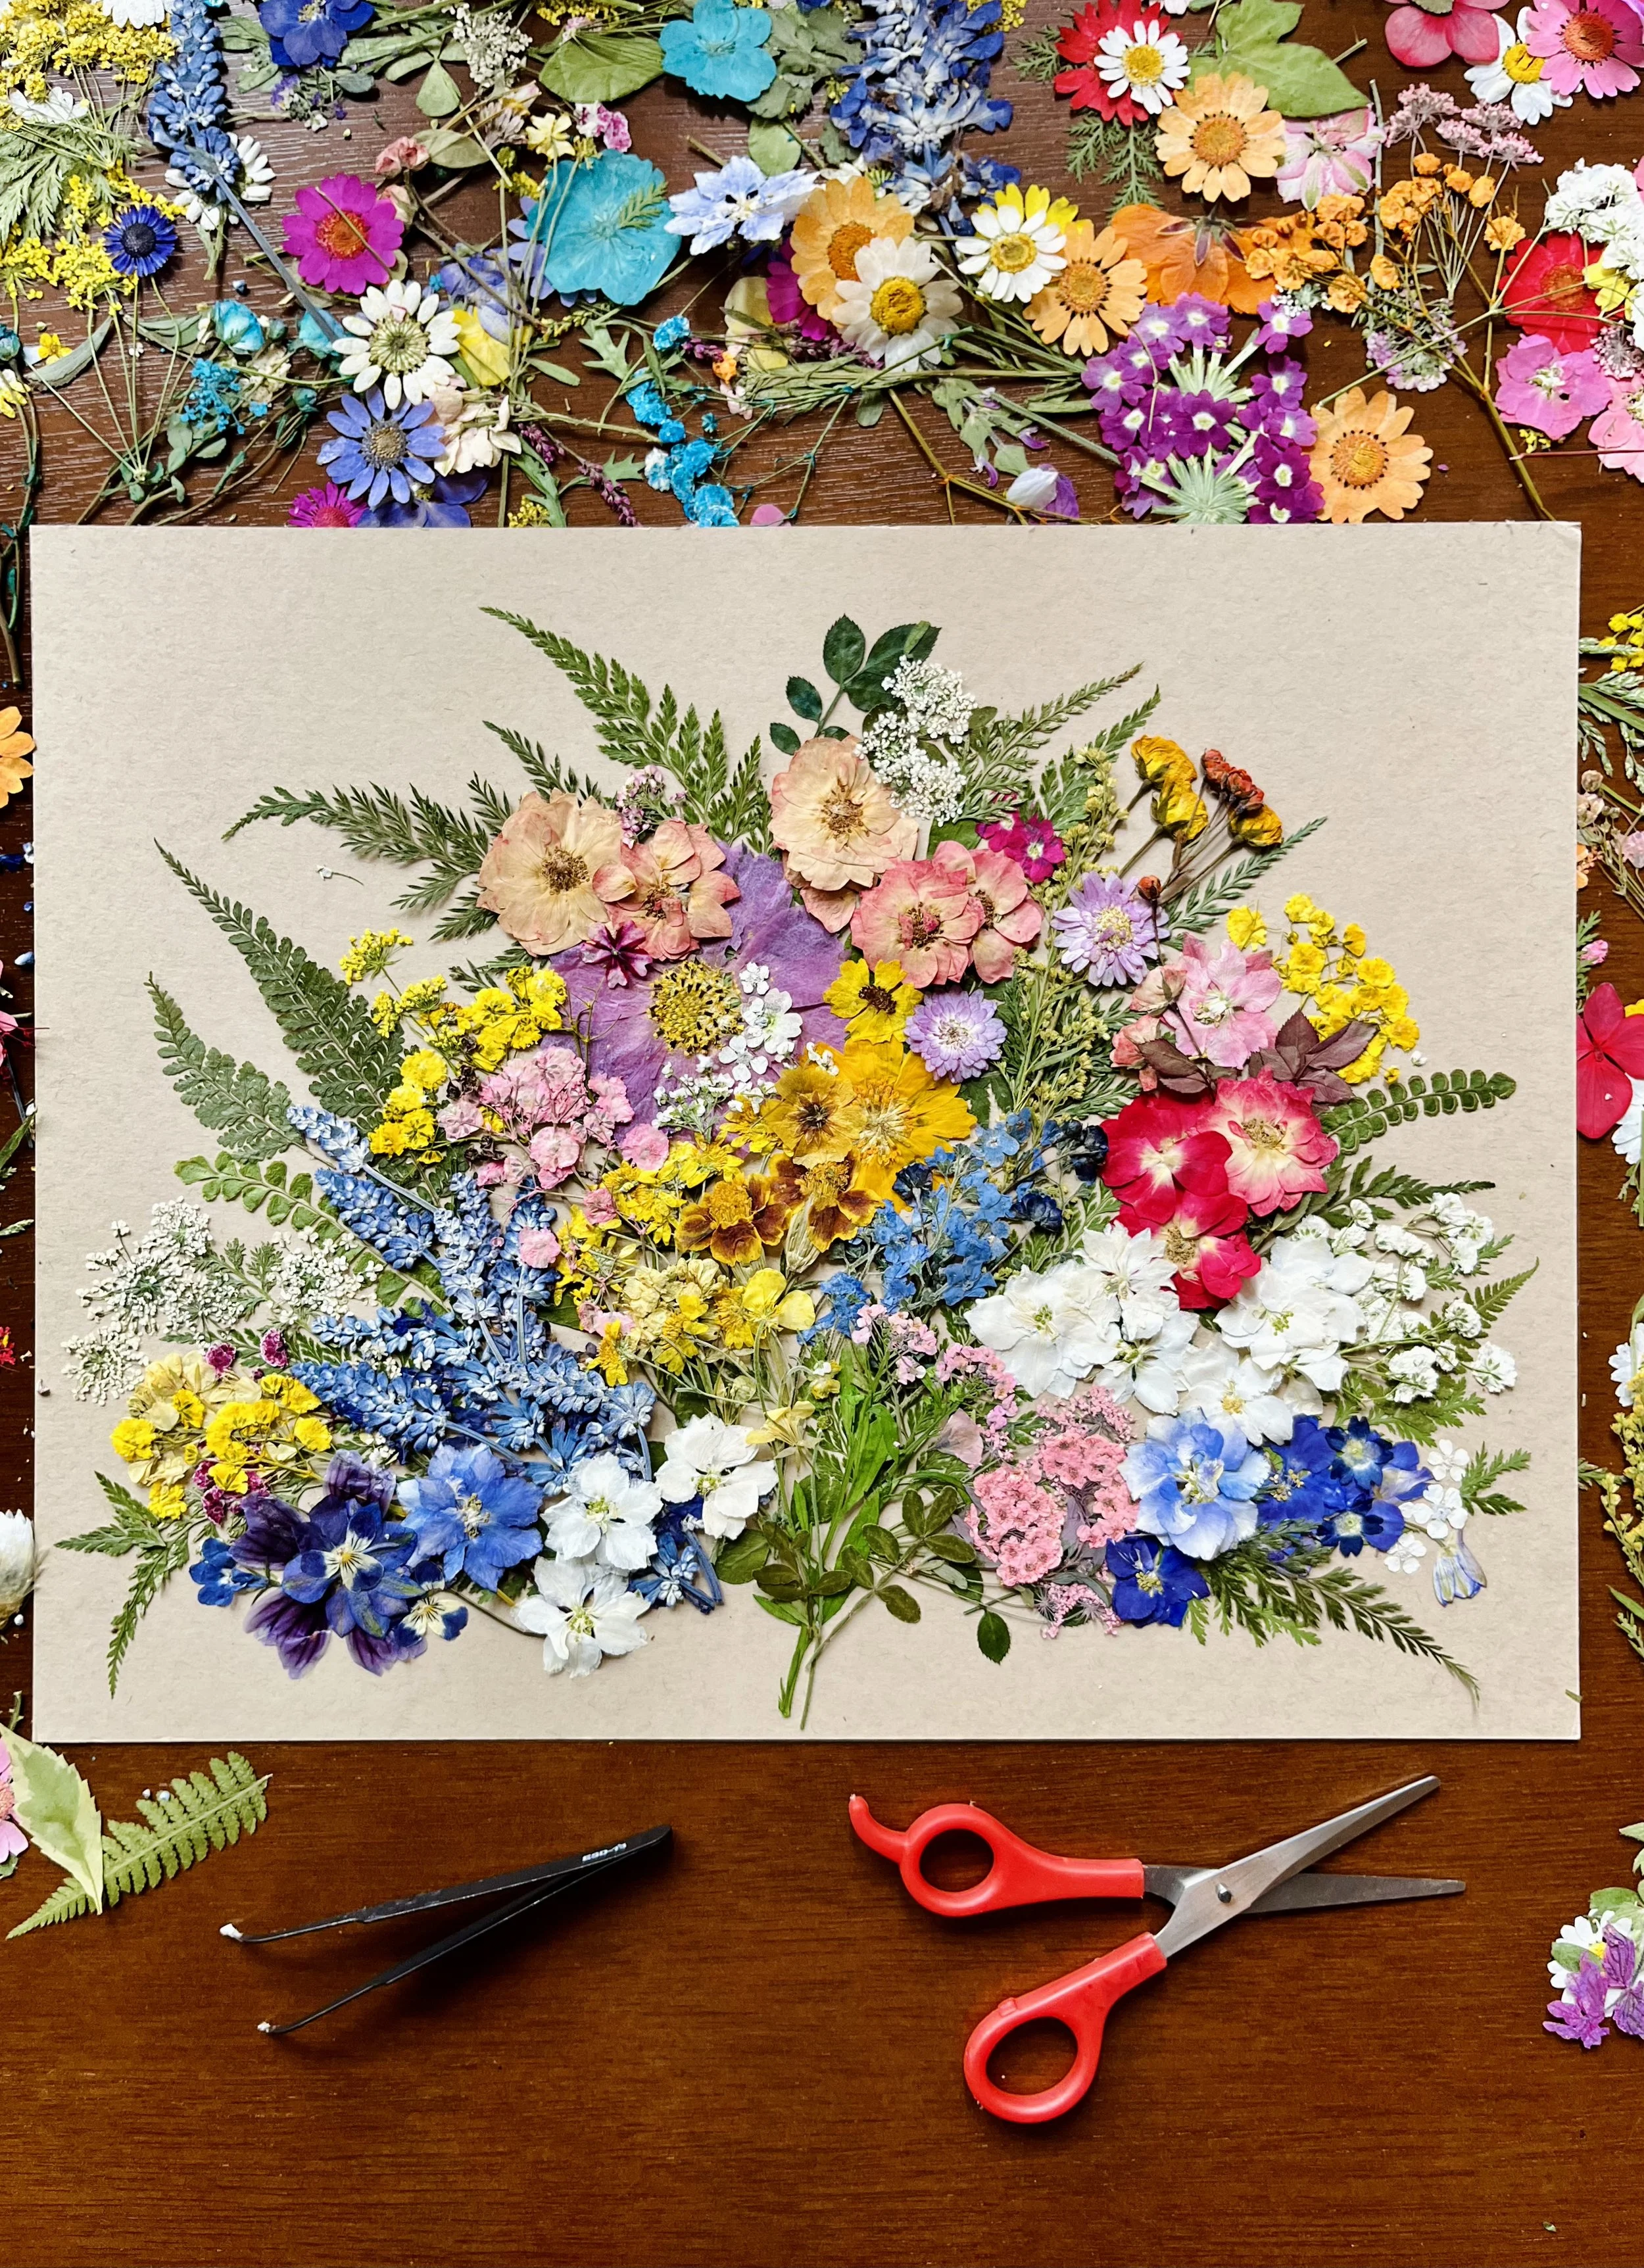
Many come in sets with tweezers for easier handling — here are some of the names of the packs we like to use: Lovely, Vivid, Gorgeous, Delicate, Rose & Hydrangea, Daisies, Greenery, Chrysanthemums, Multi ColorIcing to decorate and use as an adhesive
This usually comes as part of most gingerbread house kits; if you’re purchasing a pre-constructed house or baking your own, you’ll need a thick & stable royal icingSparkly sanding sugar
Note: the floral background is the Hollyhocks wallpaper pattern designed by Kerry Simmons for House of Hackney
Project Steps
There’s nothing too complicated to this. The most challenging part is that the flowers can be really delicate, but just use a light touch when handling them and some tweezers if that makes it easier.
Otherwise, here are a few general steps and tips that helped in putting this one together:
Plan your decorations: once you order/buy/make your pressed flowers & decorations, set them out and use a piece of scratch paper to sketch out their general placement of your design. Decide if you’ll aim to make the sides (sort of ) symmetrical or if you’ll just go with the creative flow once you start.
Collect your supplies: hit the craft store or go online to find the types of dried flowers you’ll need in the colors that you’d like.
Do a dry run: once you have your pressed flowers, gently set them out and loosely arrange them according to the guide you sketched, then adjust until you have a general idea of what you’d like to do.
Snap a photo of the dry run: take a quick pic with your phone so you have a second layout to refer to.
Assemble & adhere: set your gingerbread house next to your sketch/materials. Apply the royal icing to one panel/area at a time, since it tends to dry quickly and you’ll need a bit of time to place your flowers & botanicals on it.
Using tweezers, decorate according to your sketched plan–or throw that out the window and just do whatever you feel like doing.
To get an “icy” look, sprinkle sanding sugar on parts of the royal icing.
Double-check it: after the design of your decorated house begins coming together, let it dry for a few hours. Use any remaining royal icing to add in any supplemental flowers to complete your look.
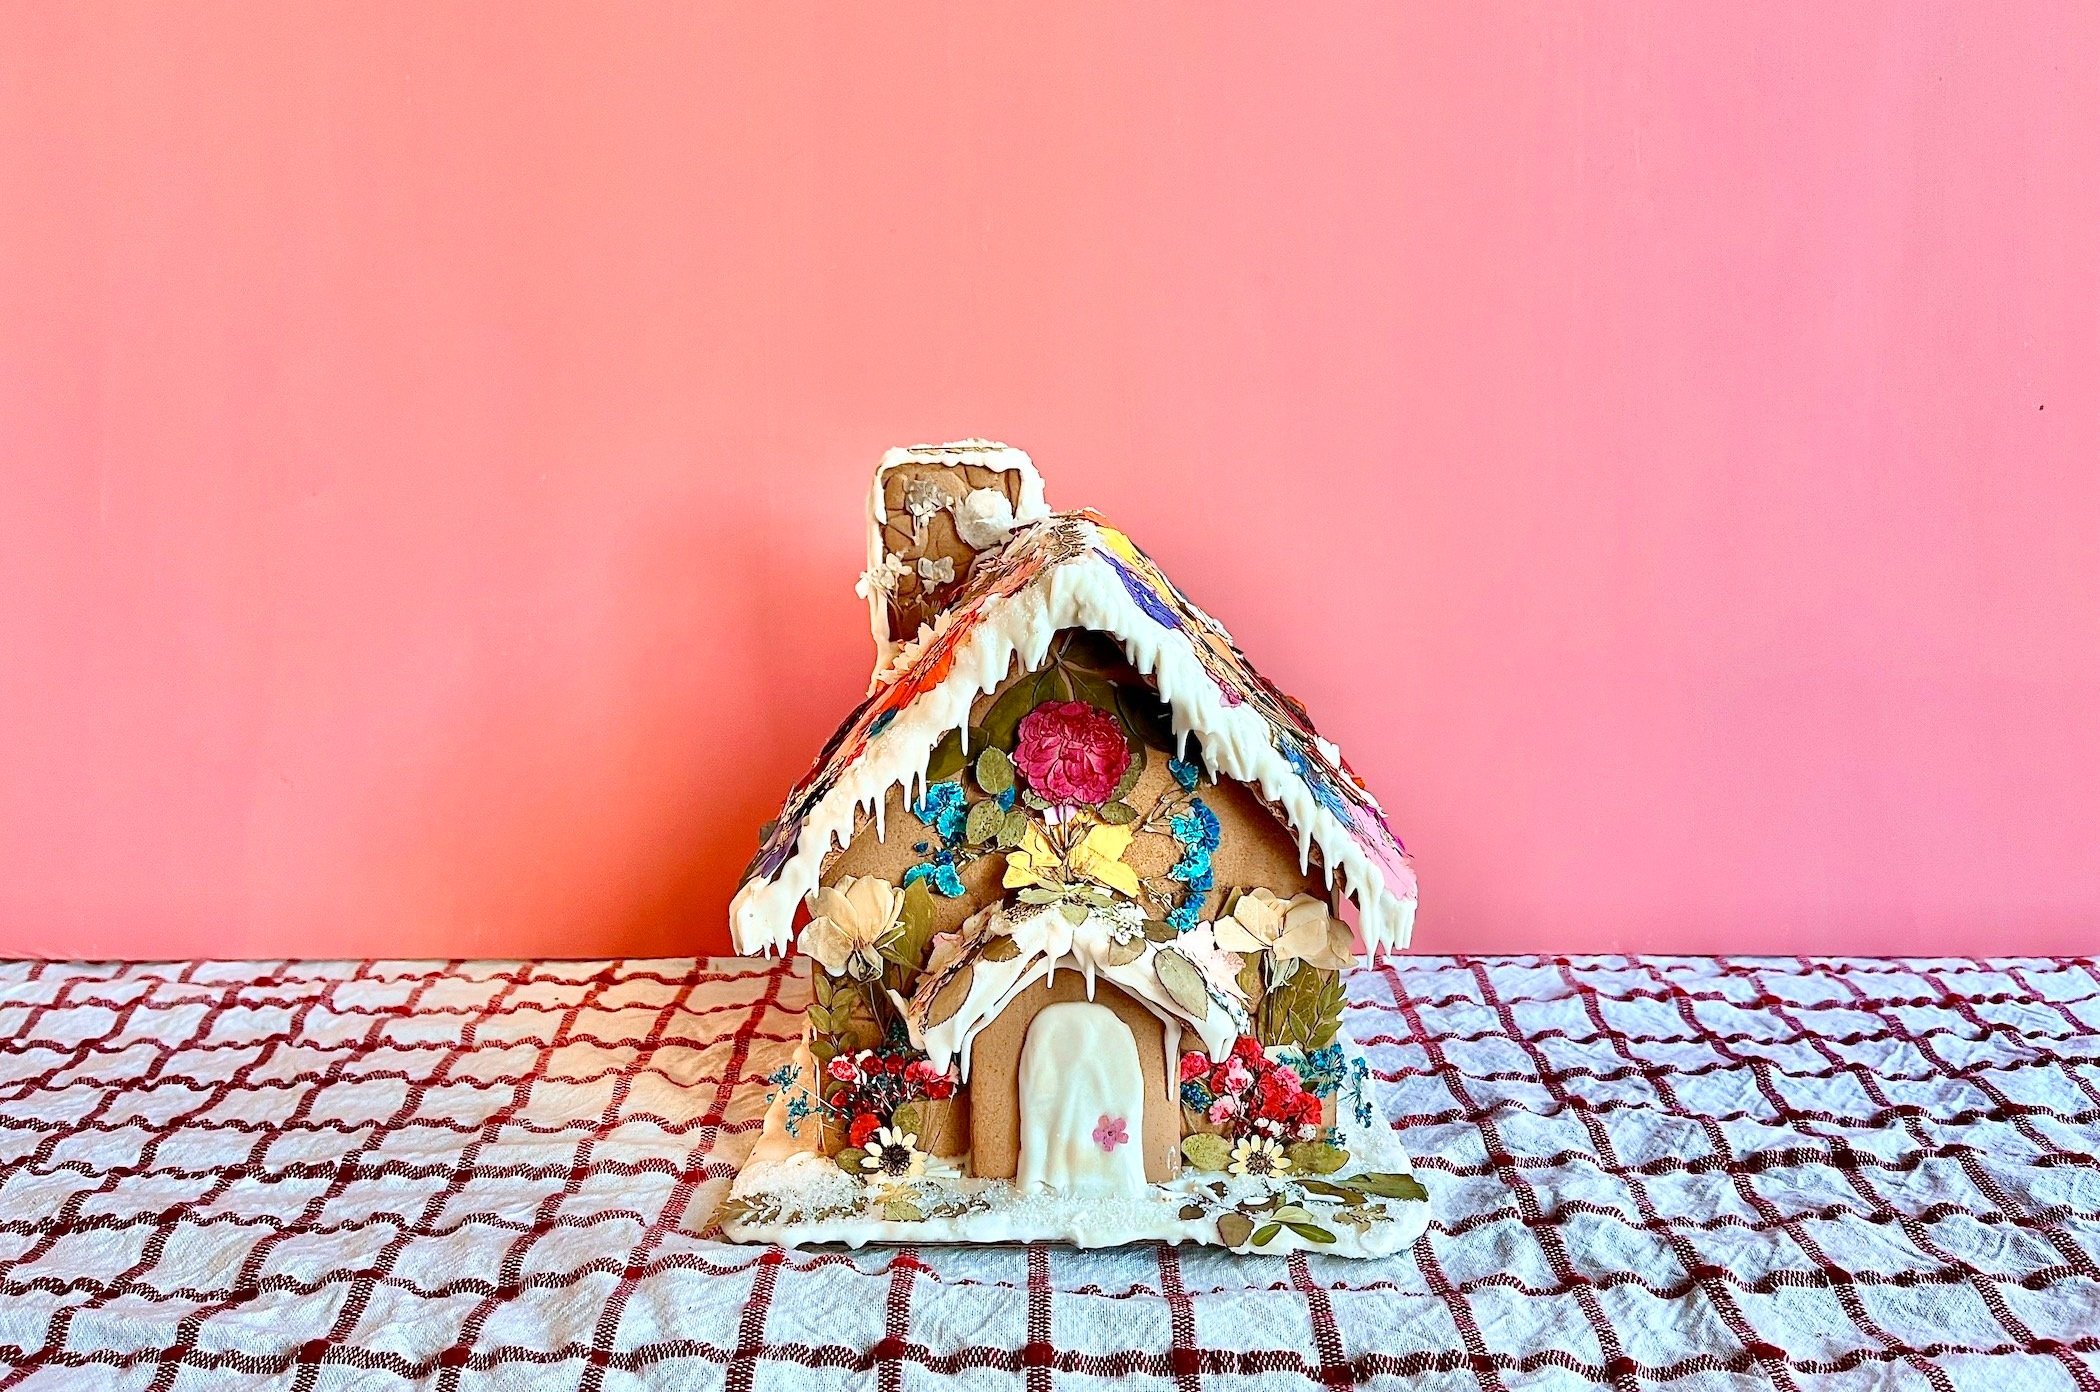
Additional note: these keep well - the house in the photos here was actually something I made for the holidays last year. To save it, I cushioned it in bubble wrap and kept it in a plastic storage bin, then pulled it out with the holiday decorations again this year. A few of the frosting icicles had broken, but those’ll be easy enough to add on again this year!
You may also like…
More floral-inspired crafts & recipes
We respect your privacy, and when you click “Sign Up,” you are confirming that you agree that information you submit will be protected and used as permitted in our privacy policy and terms. If you do not agree to any of these terms, you may not submit this form.


