MAKE IT
Pressed-Flower
Family Garden
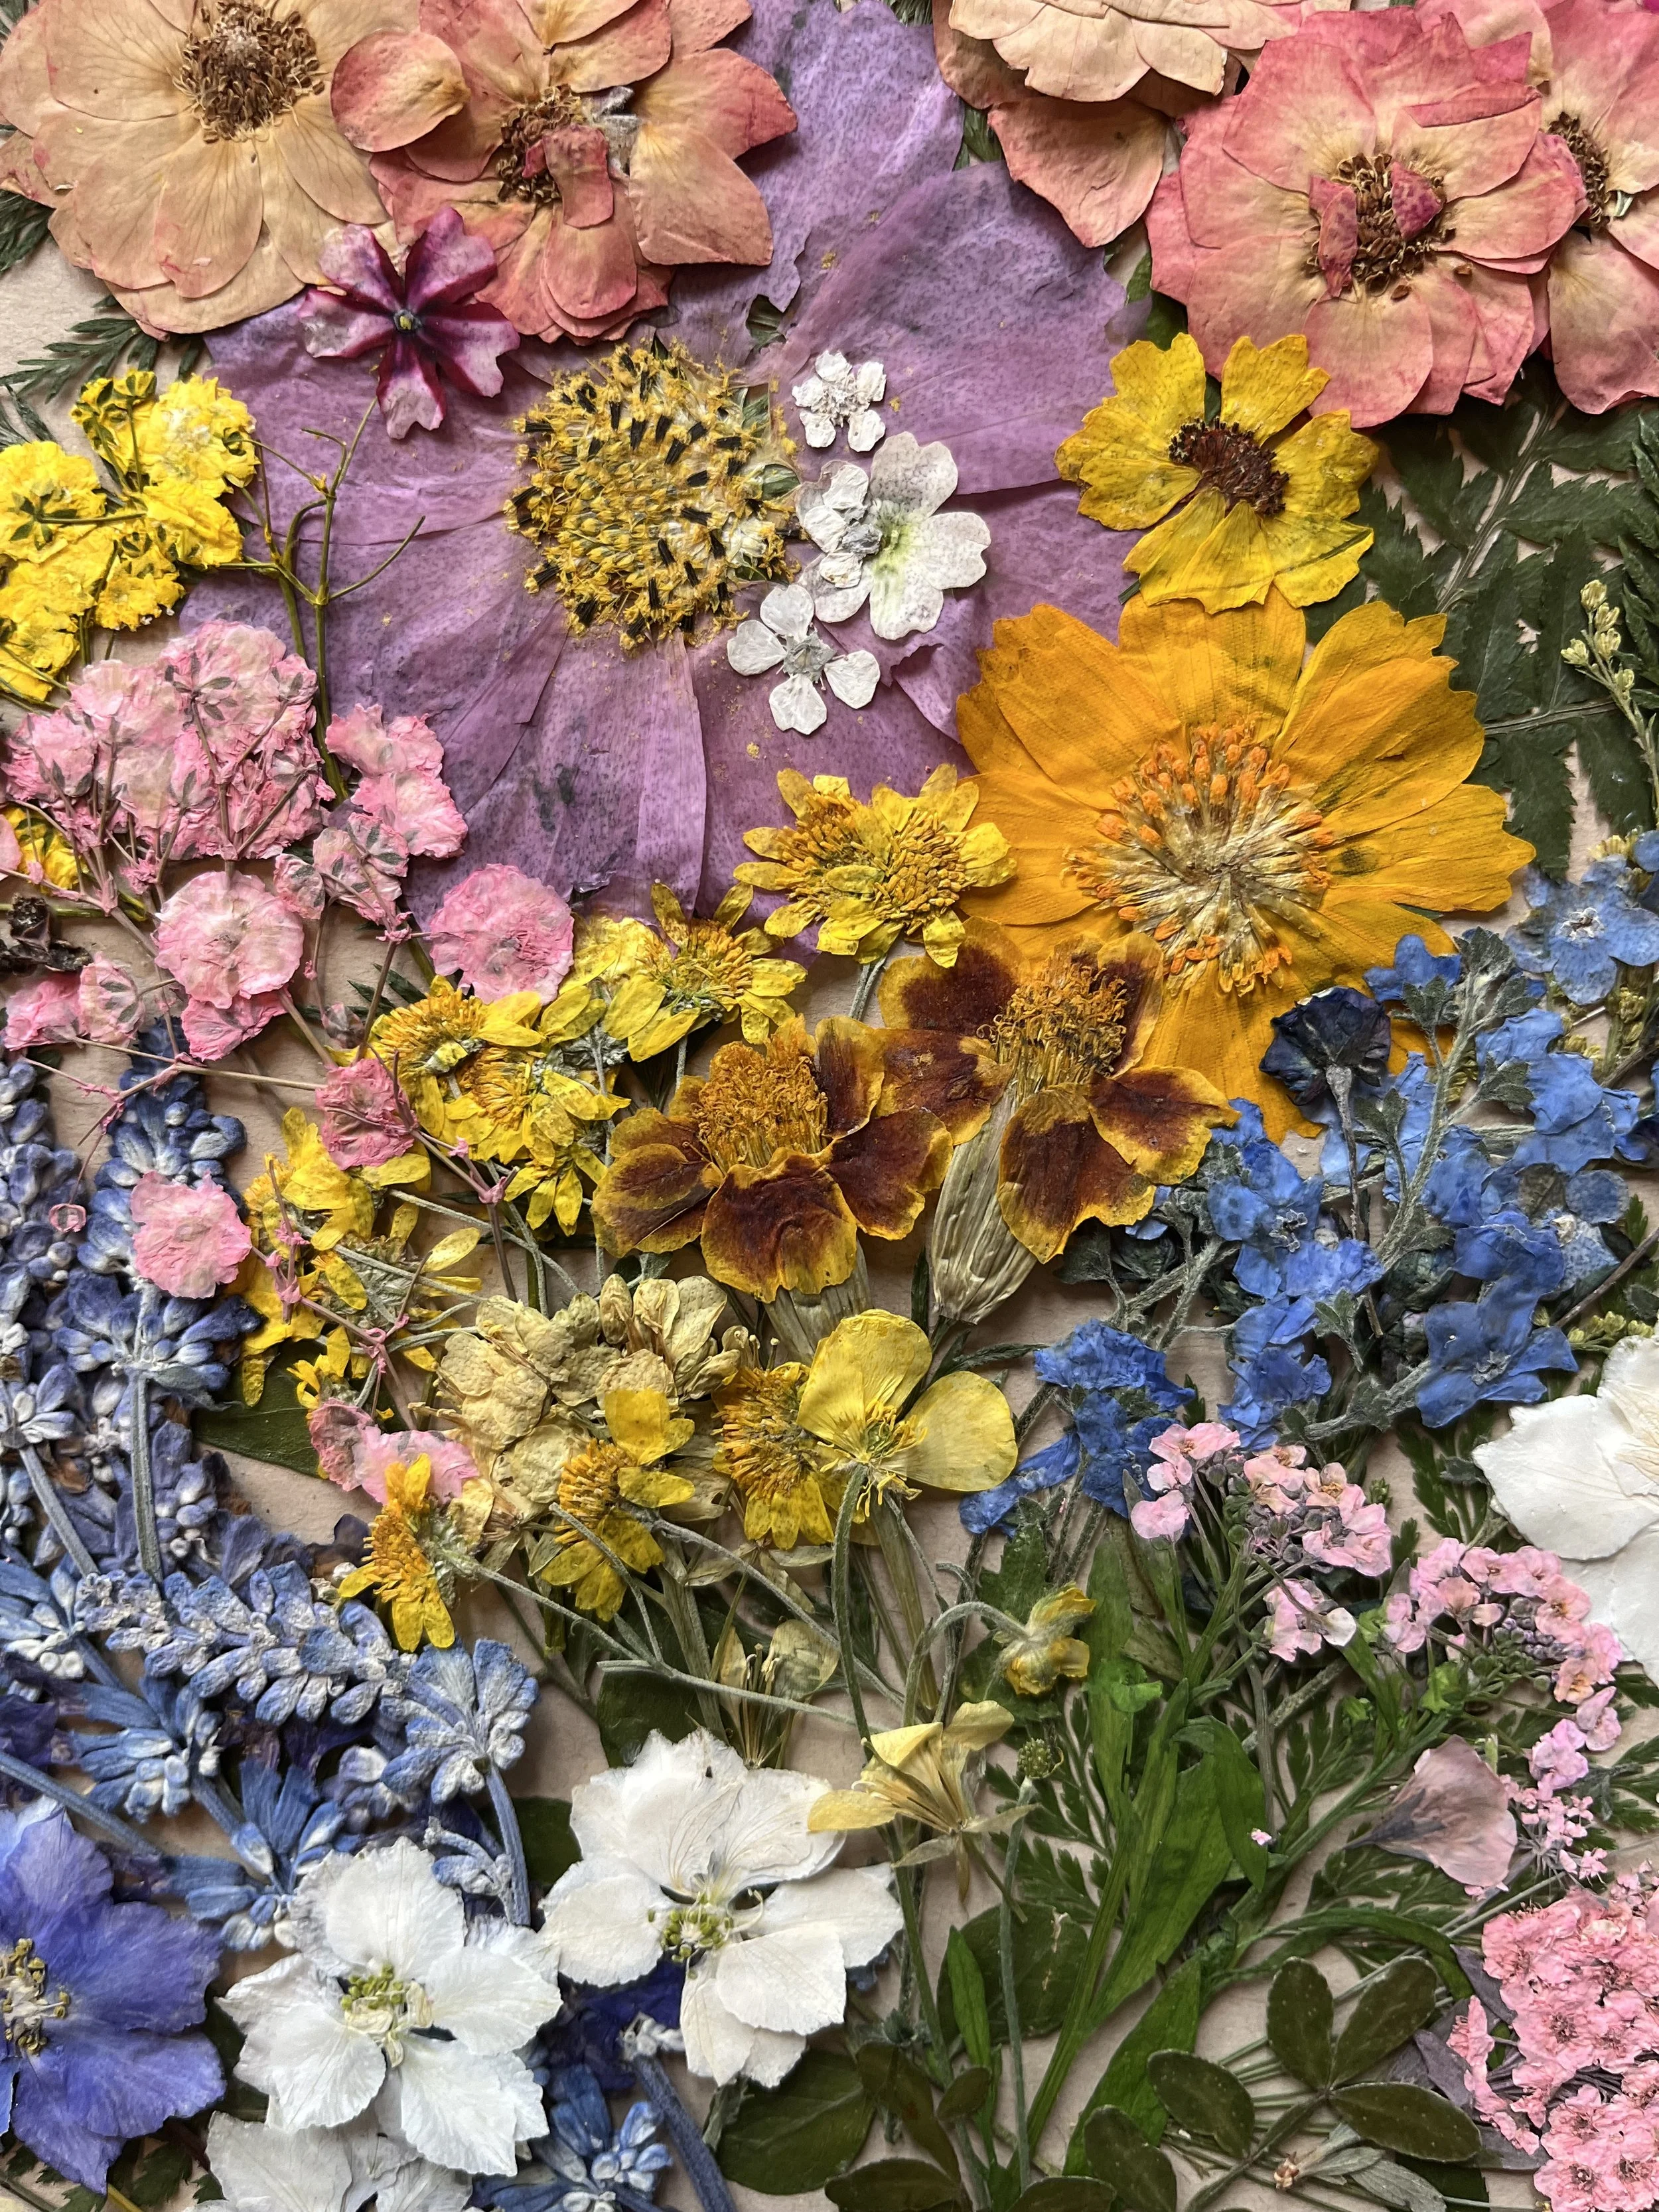
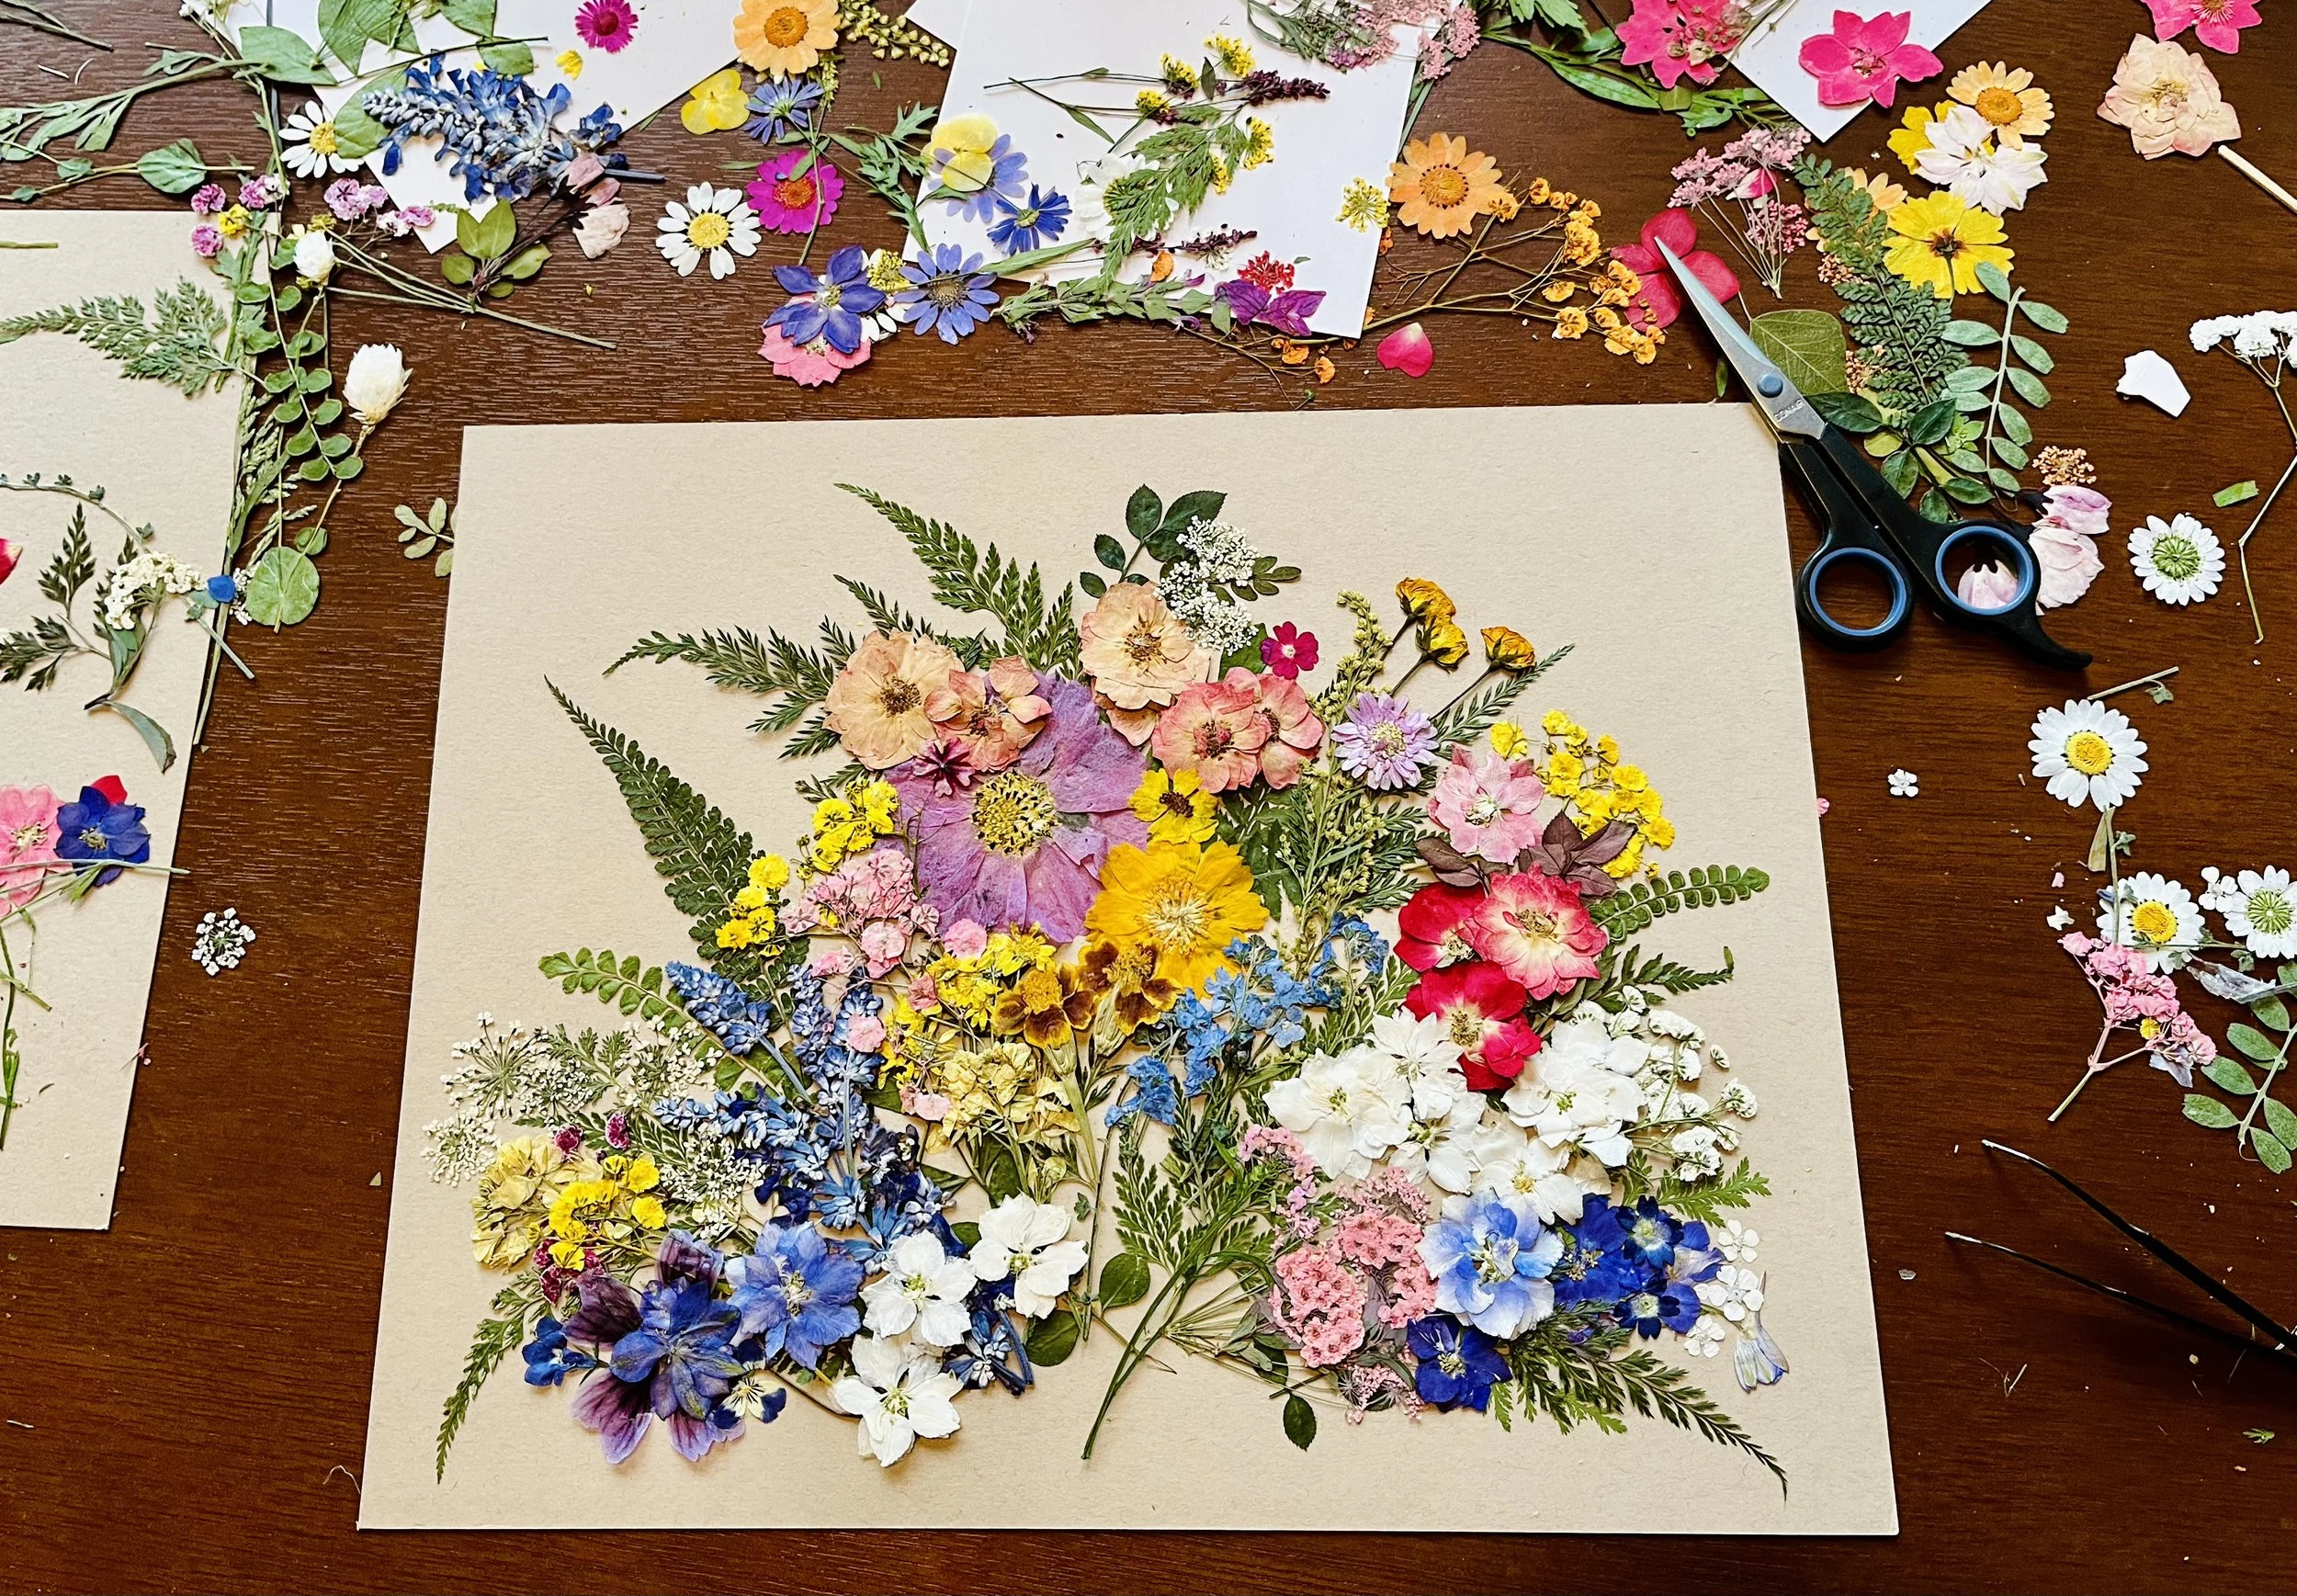
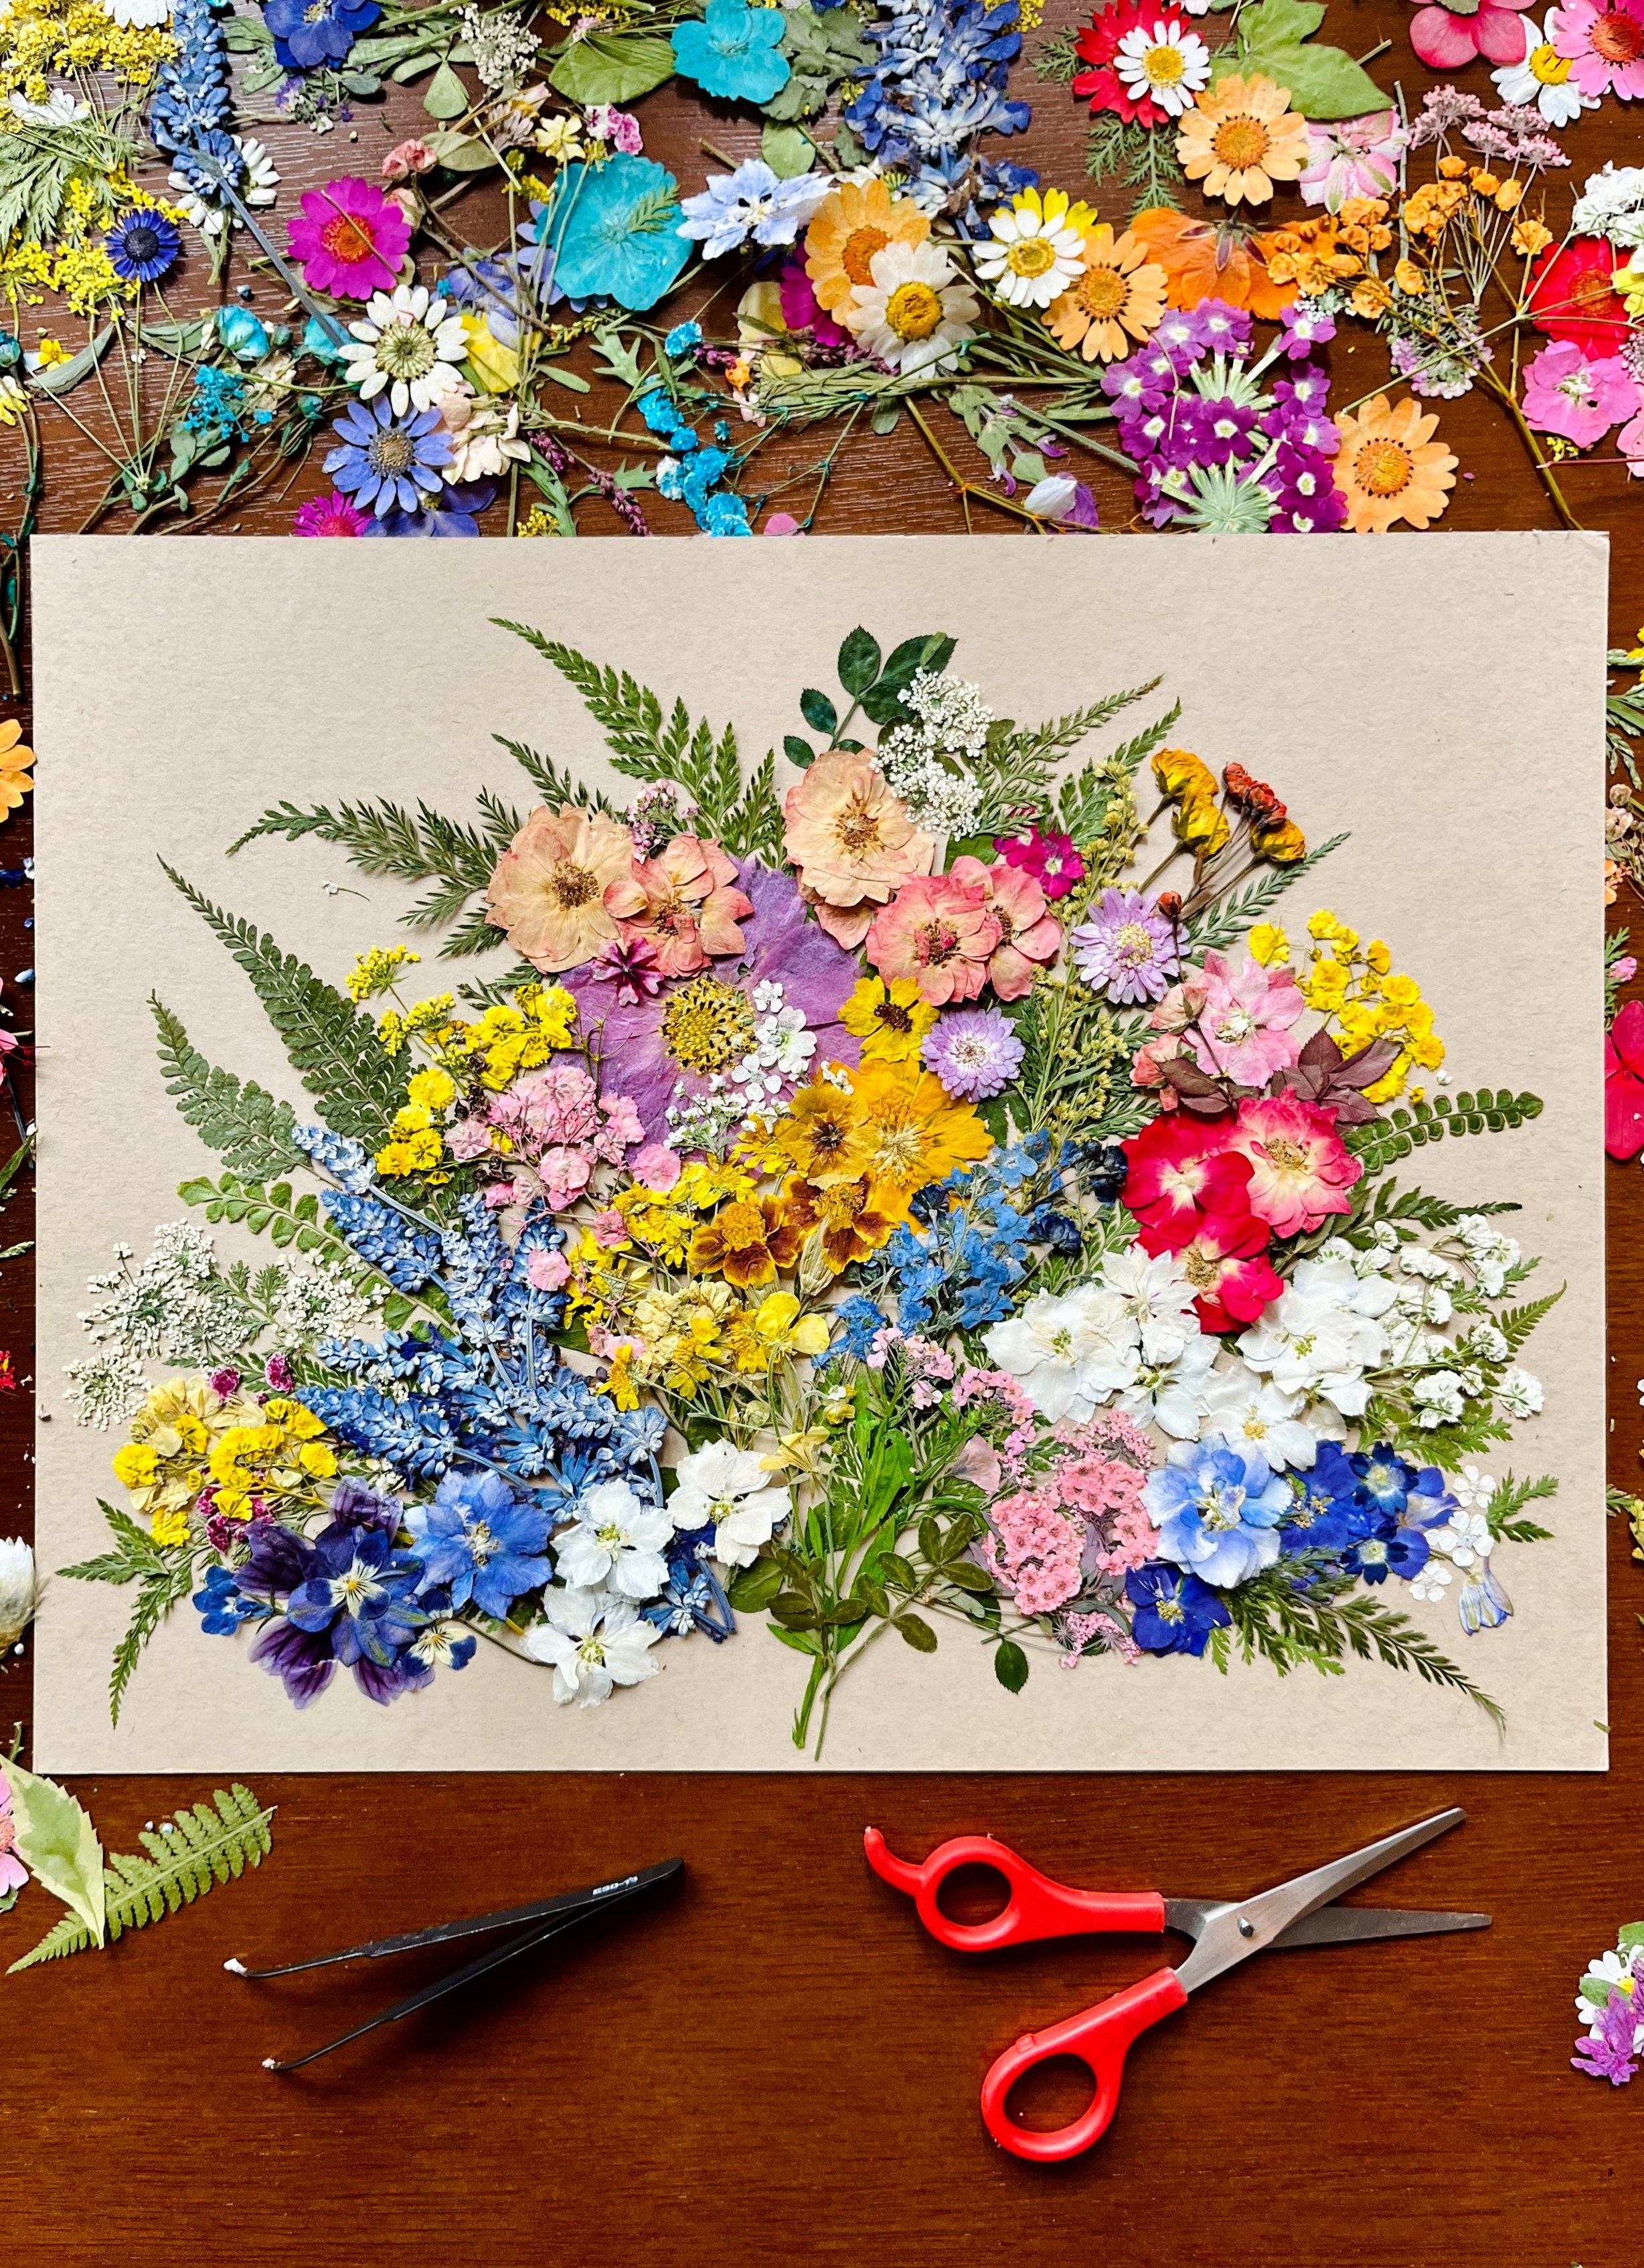
Our version of a family tree: a pressed-flower garden representing those you love.
Since each month has a designated birth flower or two, it’s a fun alternate take on a family portrait/tree that works for families of all kinds: those we’re born into, those we create, and those we grow together with, all with roots intertwining and supporting each other.
It also makes a great gift, whether for Mother’s Day, special birthdays, milestone moments, as a memorial, or just because.
Stepping back for a bit of perspective on the abundance that’s grown all around each of us is never a bad idea, and we’re all about love and celebrations for any ol’ reason!
Creating your own pressed-flower family garden is relatively easy in that it doesn’t require any specialized skills, and it can be as minimalist or maximalist as you’d like it to be.
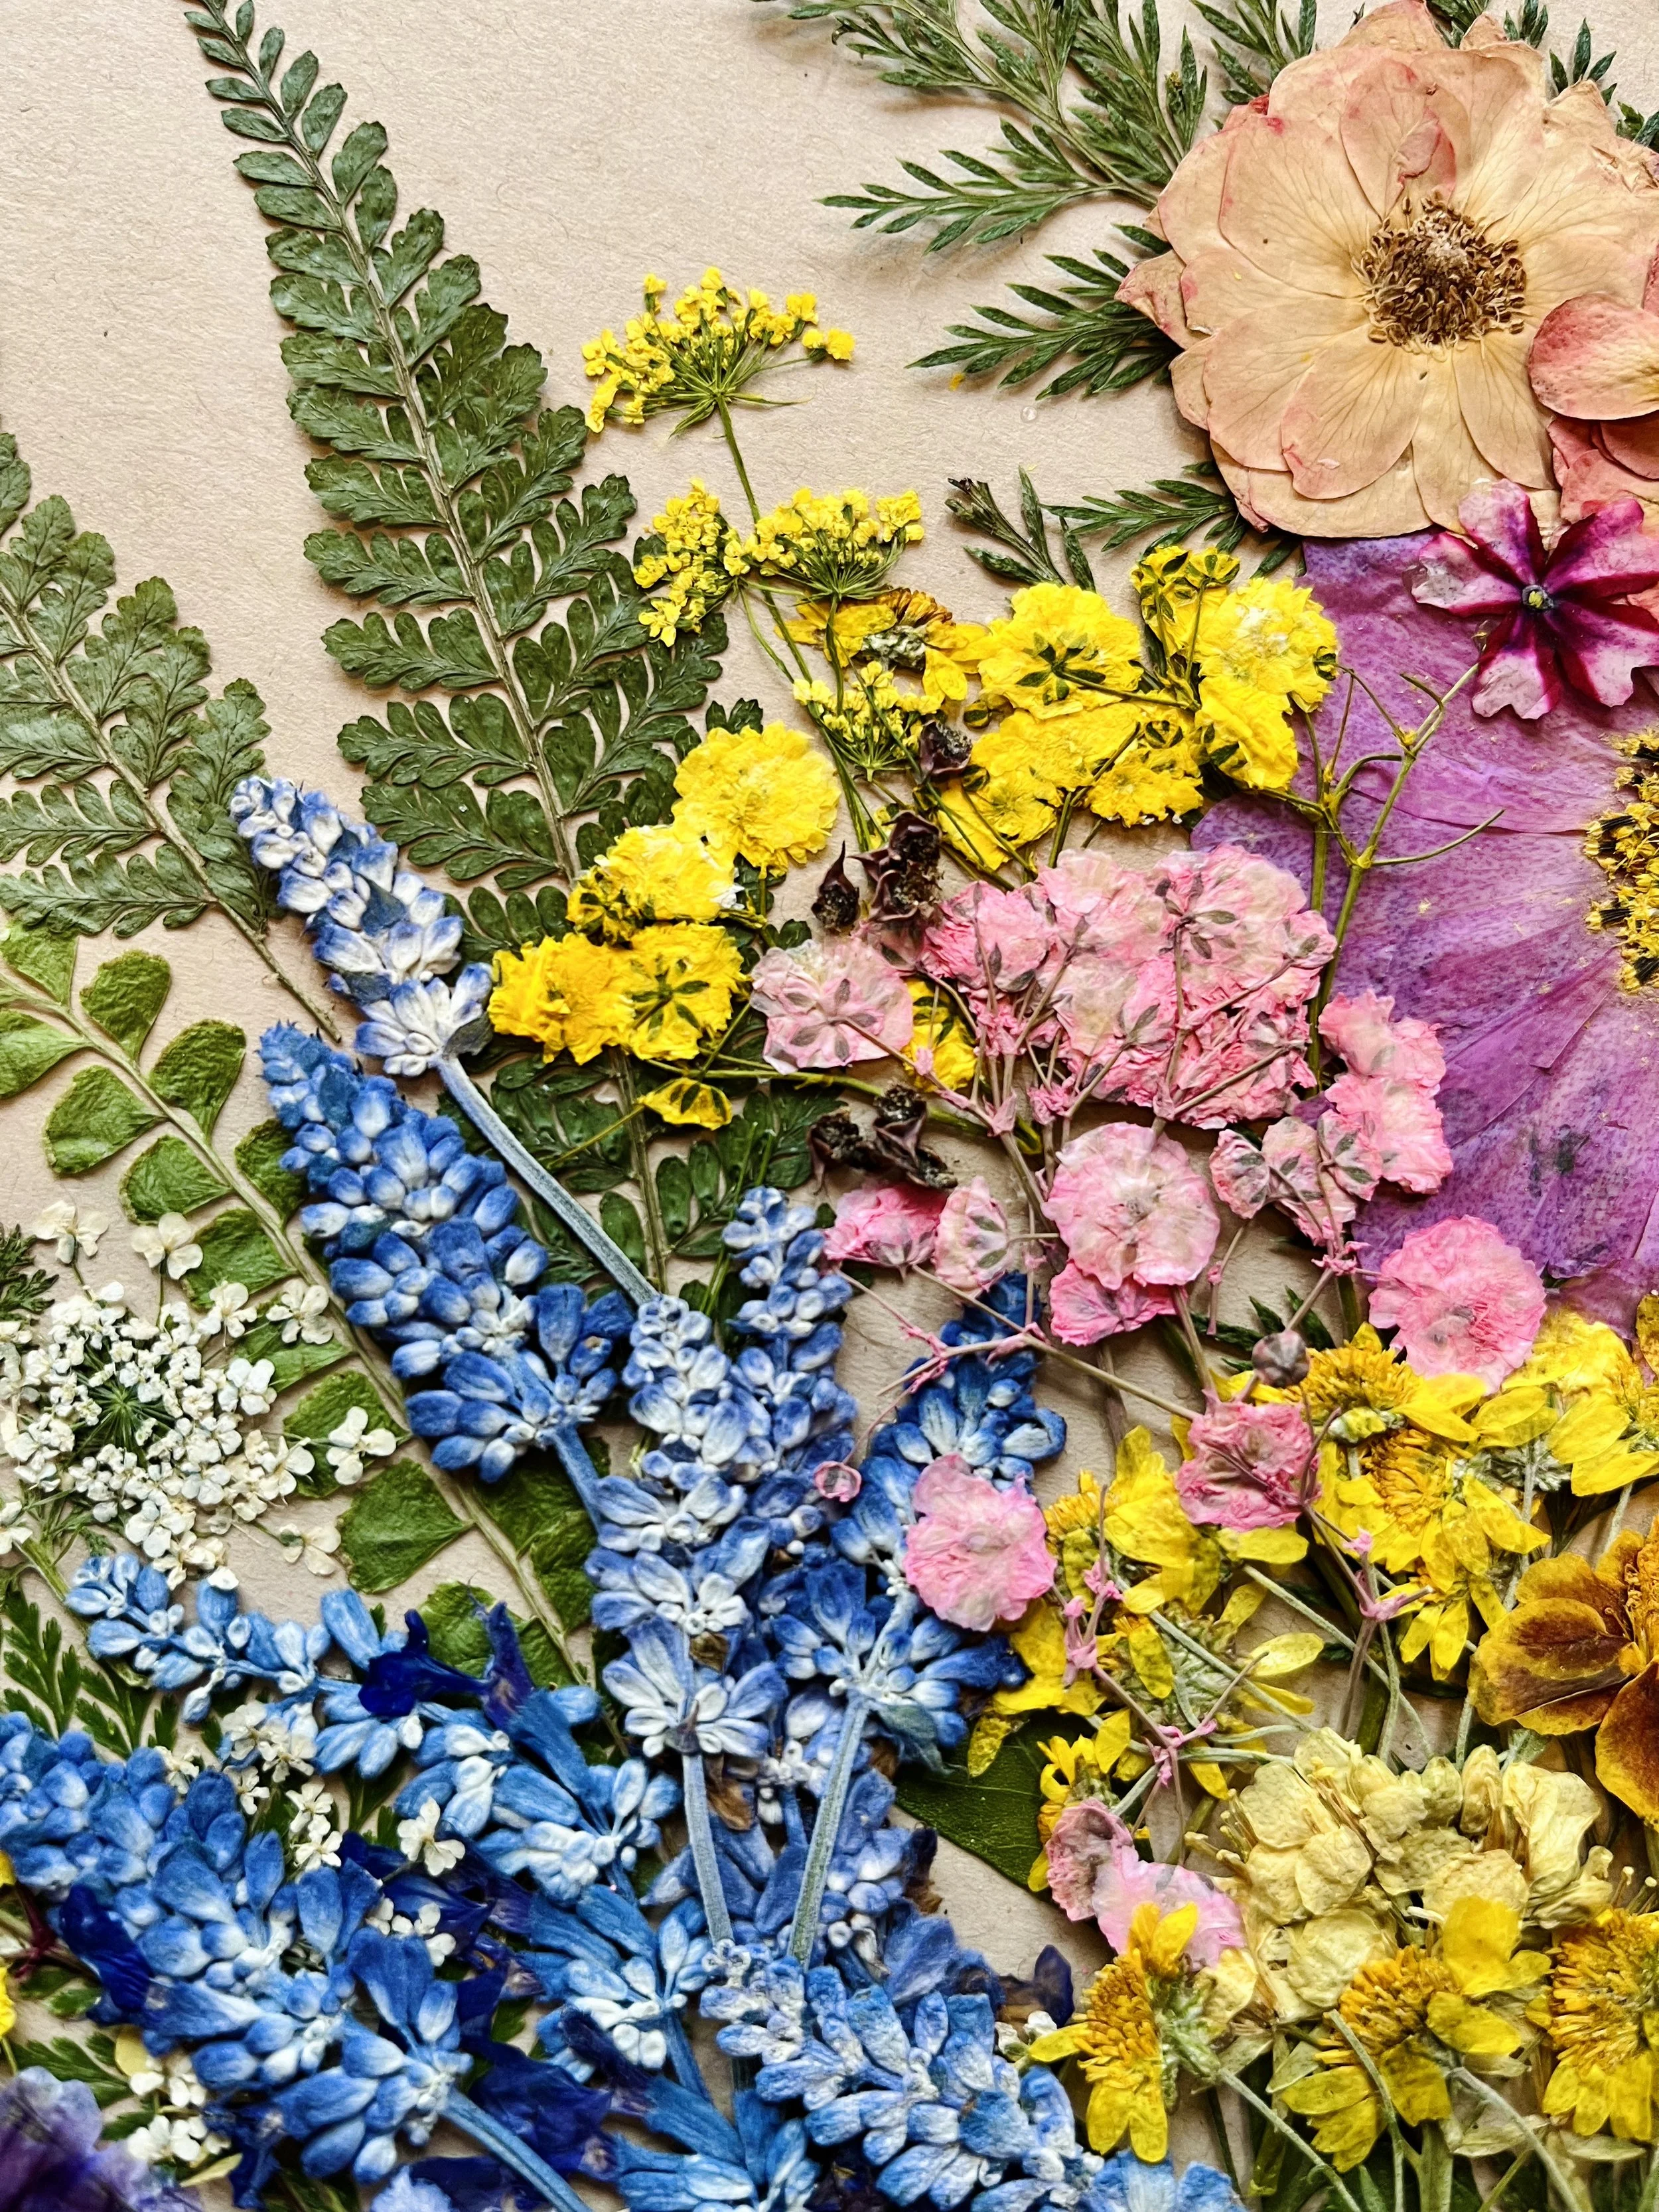
Ours took a little longer because it’s a mega-super-blooming garden that’s packed full – in part because the dried pressed flowers represent a big family of 16 people across four generations, and also because we added flowers that represented the months when people got married.
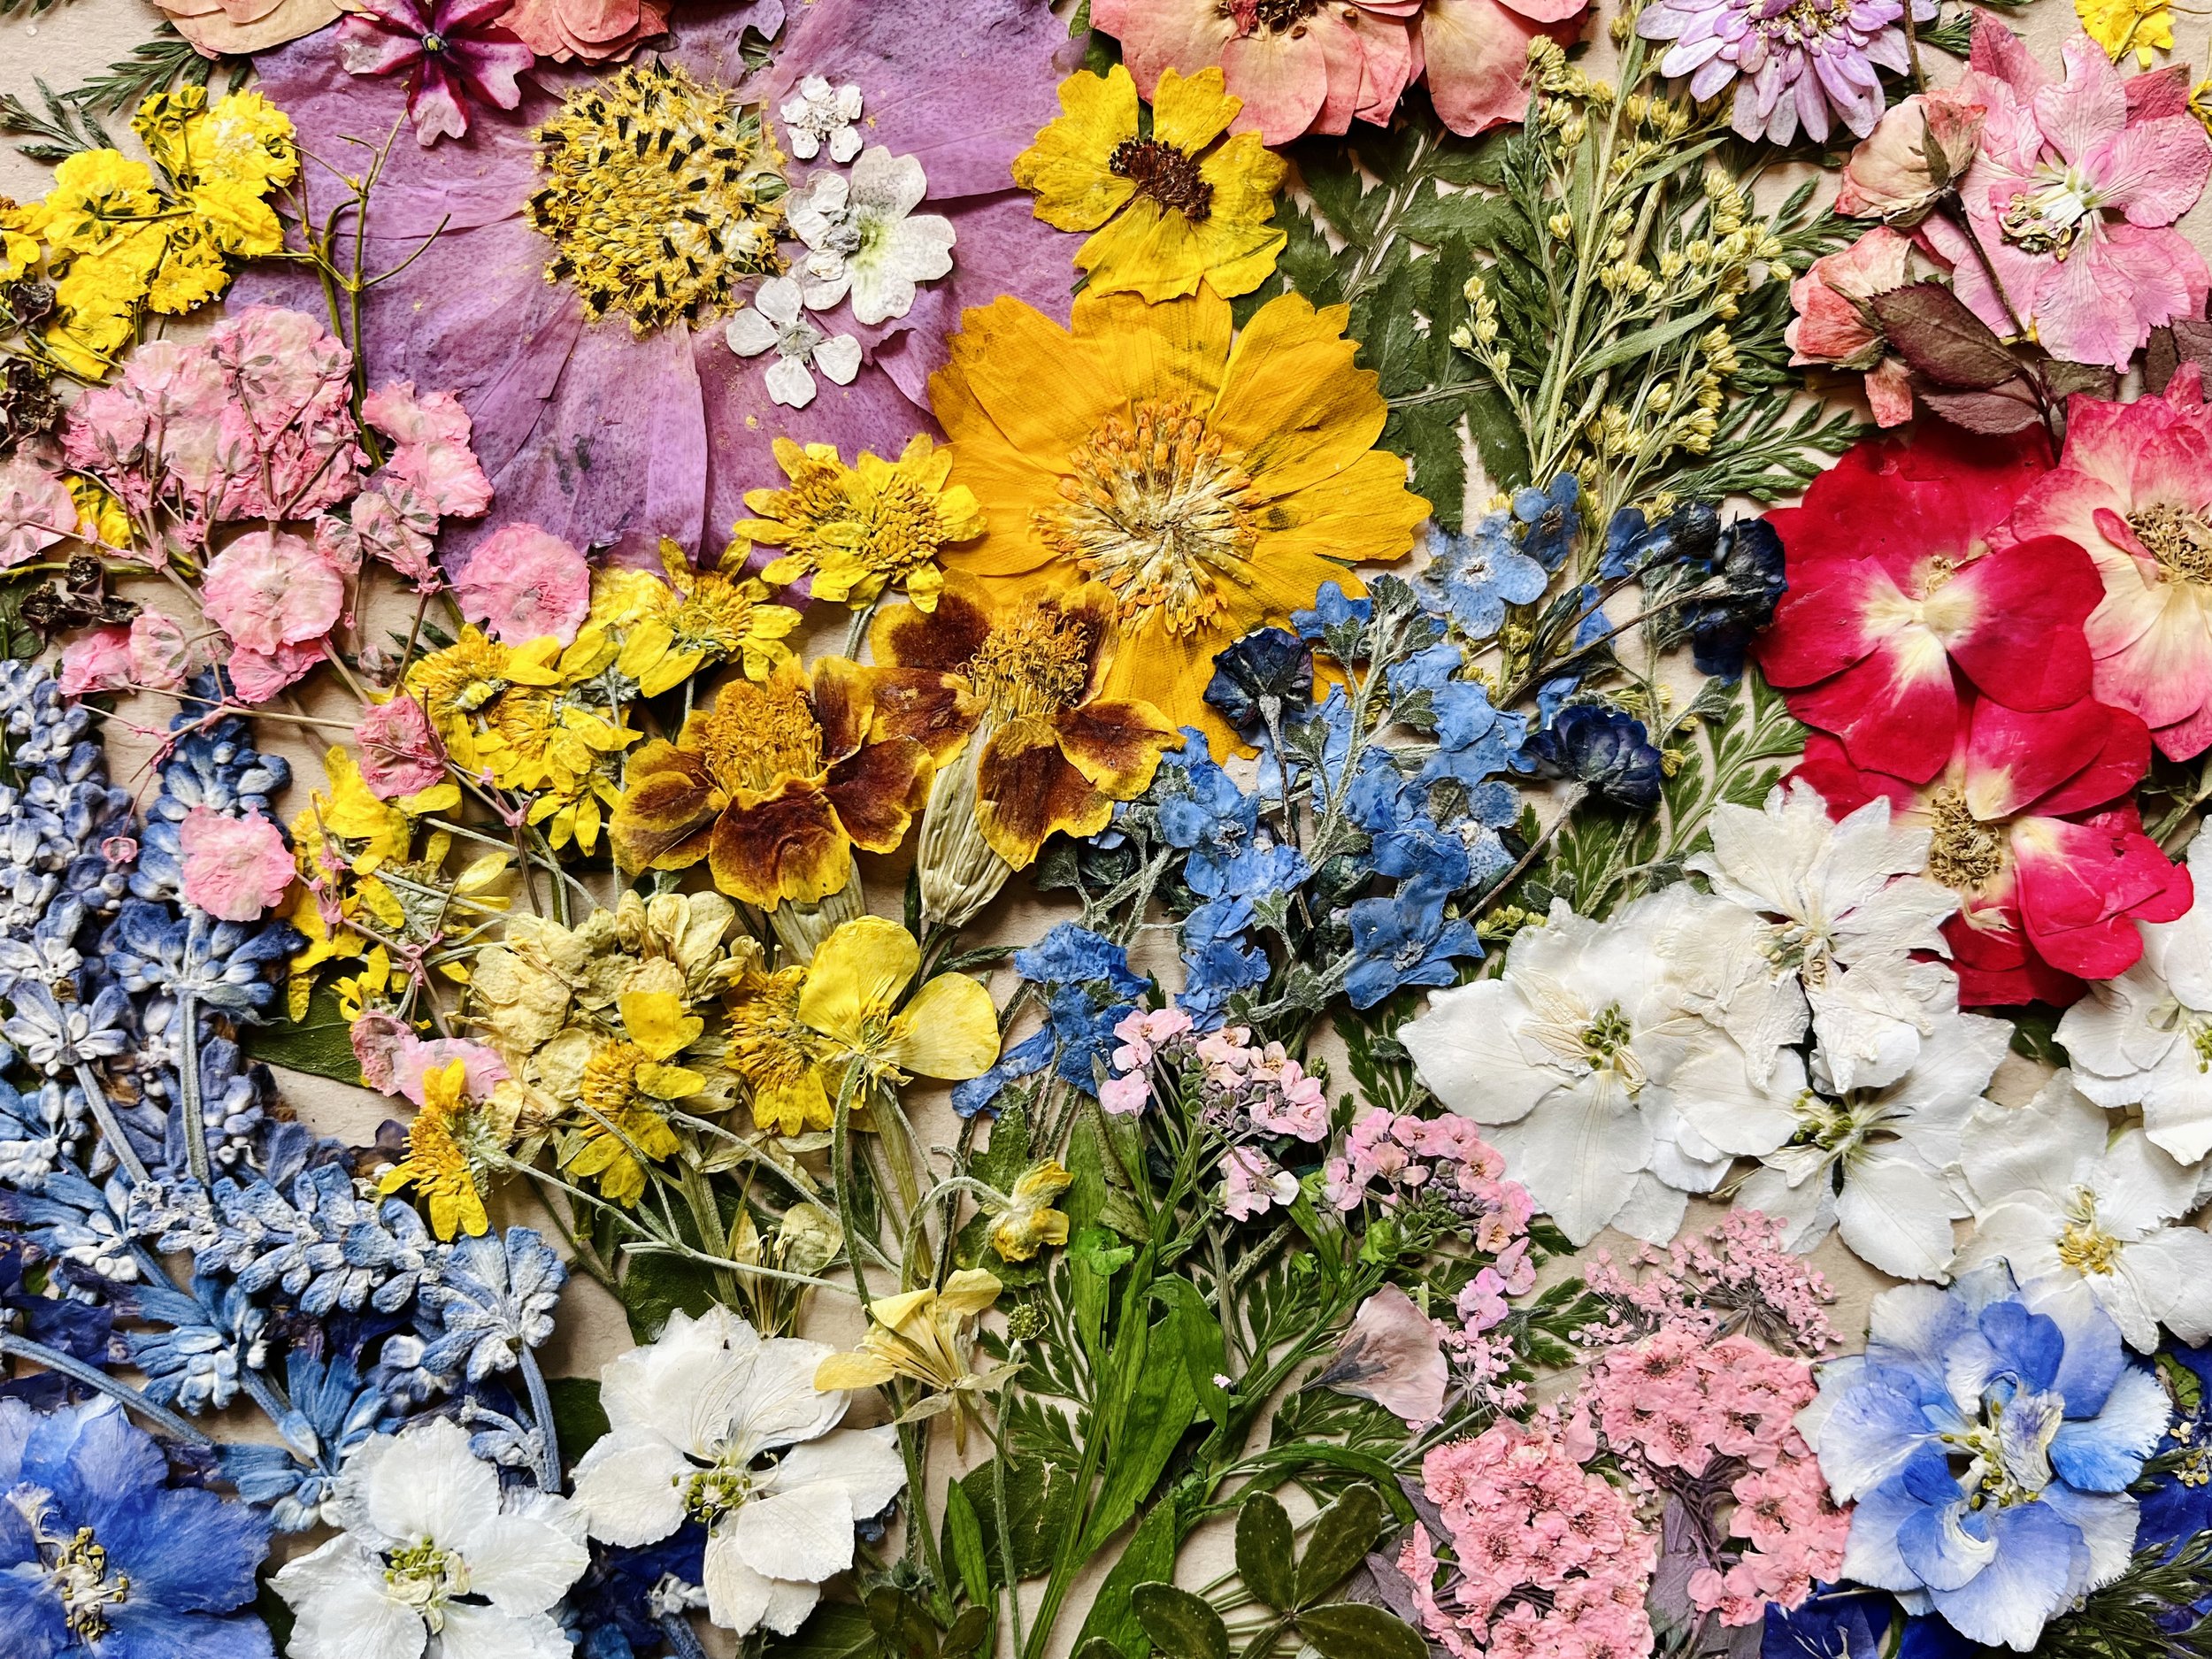
The pressed flowers used here are just craft supplies that can be found at a local art/craft store or online (links below).
Bonus points if you want to press your own flowers – which is actually a really sweet and meaningful idea, especially if you grow your own or source them from the gardens of friends & family or from local flower farmers – but it’s definitely not a necessity.
We also were fairly casual when it came to using the exact flowers for each month, as we didn’t have every flower that’s traditionally associated with each month.
In some instances, a flower in the same general color family worked just fine, as the idea is to portray the abundance of what’s grown between everyone who’s represented — not to be sticklers about accuracy or perfection.
And if crafting isn’t really your jam, there are also plenty of great artists on Etsy who can create something like this for you.
Flowers by Month
Most months have multiple types of flowers, offering some variety and flexibility in composing this kind of garden
JANUARY
Carnations & Snowdrops
FEBRUARY
Violets & Irises
MARCH
Daffodil & Jonquils
APRIL
Daisies & Sweet Peas
MAY
Lilies of the Valley & Hawthorn
JUNE
Roses & Honeysuckle
JULY
Delphiniums & Water Lilies
AUGUST
Gladiolus & Poppies
SEPTEMBER
Asters & Morning Glories
OCTOBER
Marigolds & Cosmos
NOVEMBER
Chrysanthemums
DECEMBER
Holly & Narcissus
Supplies
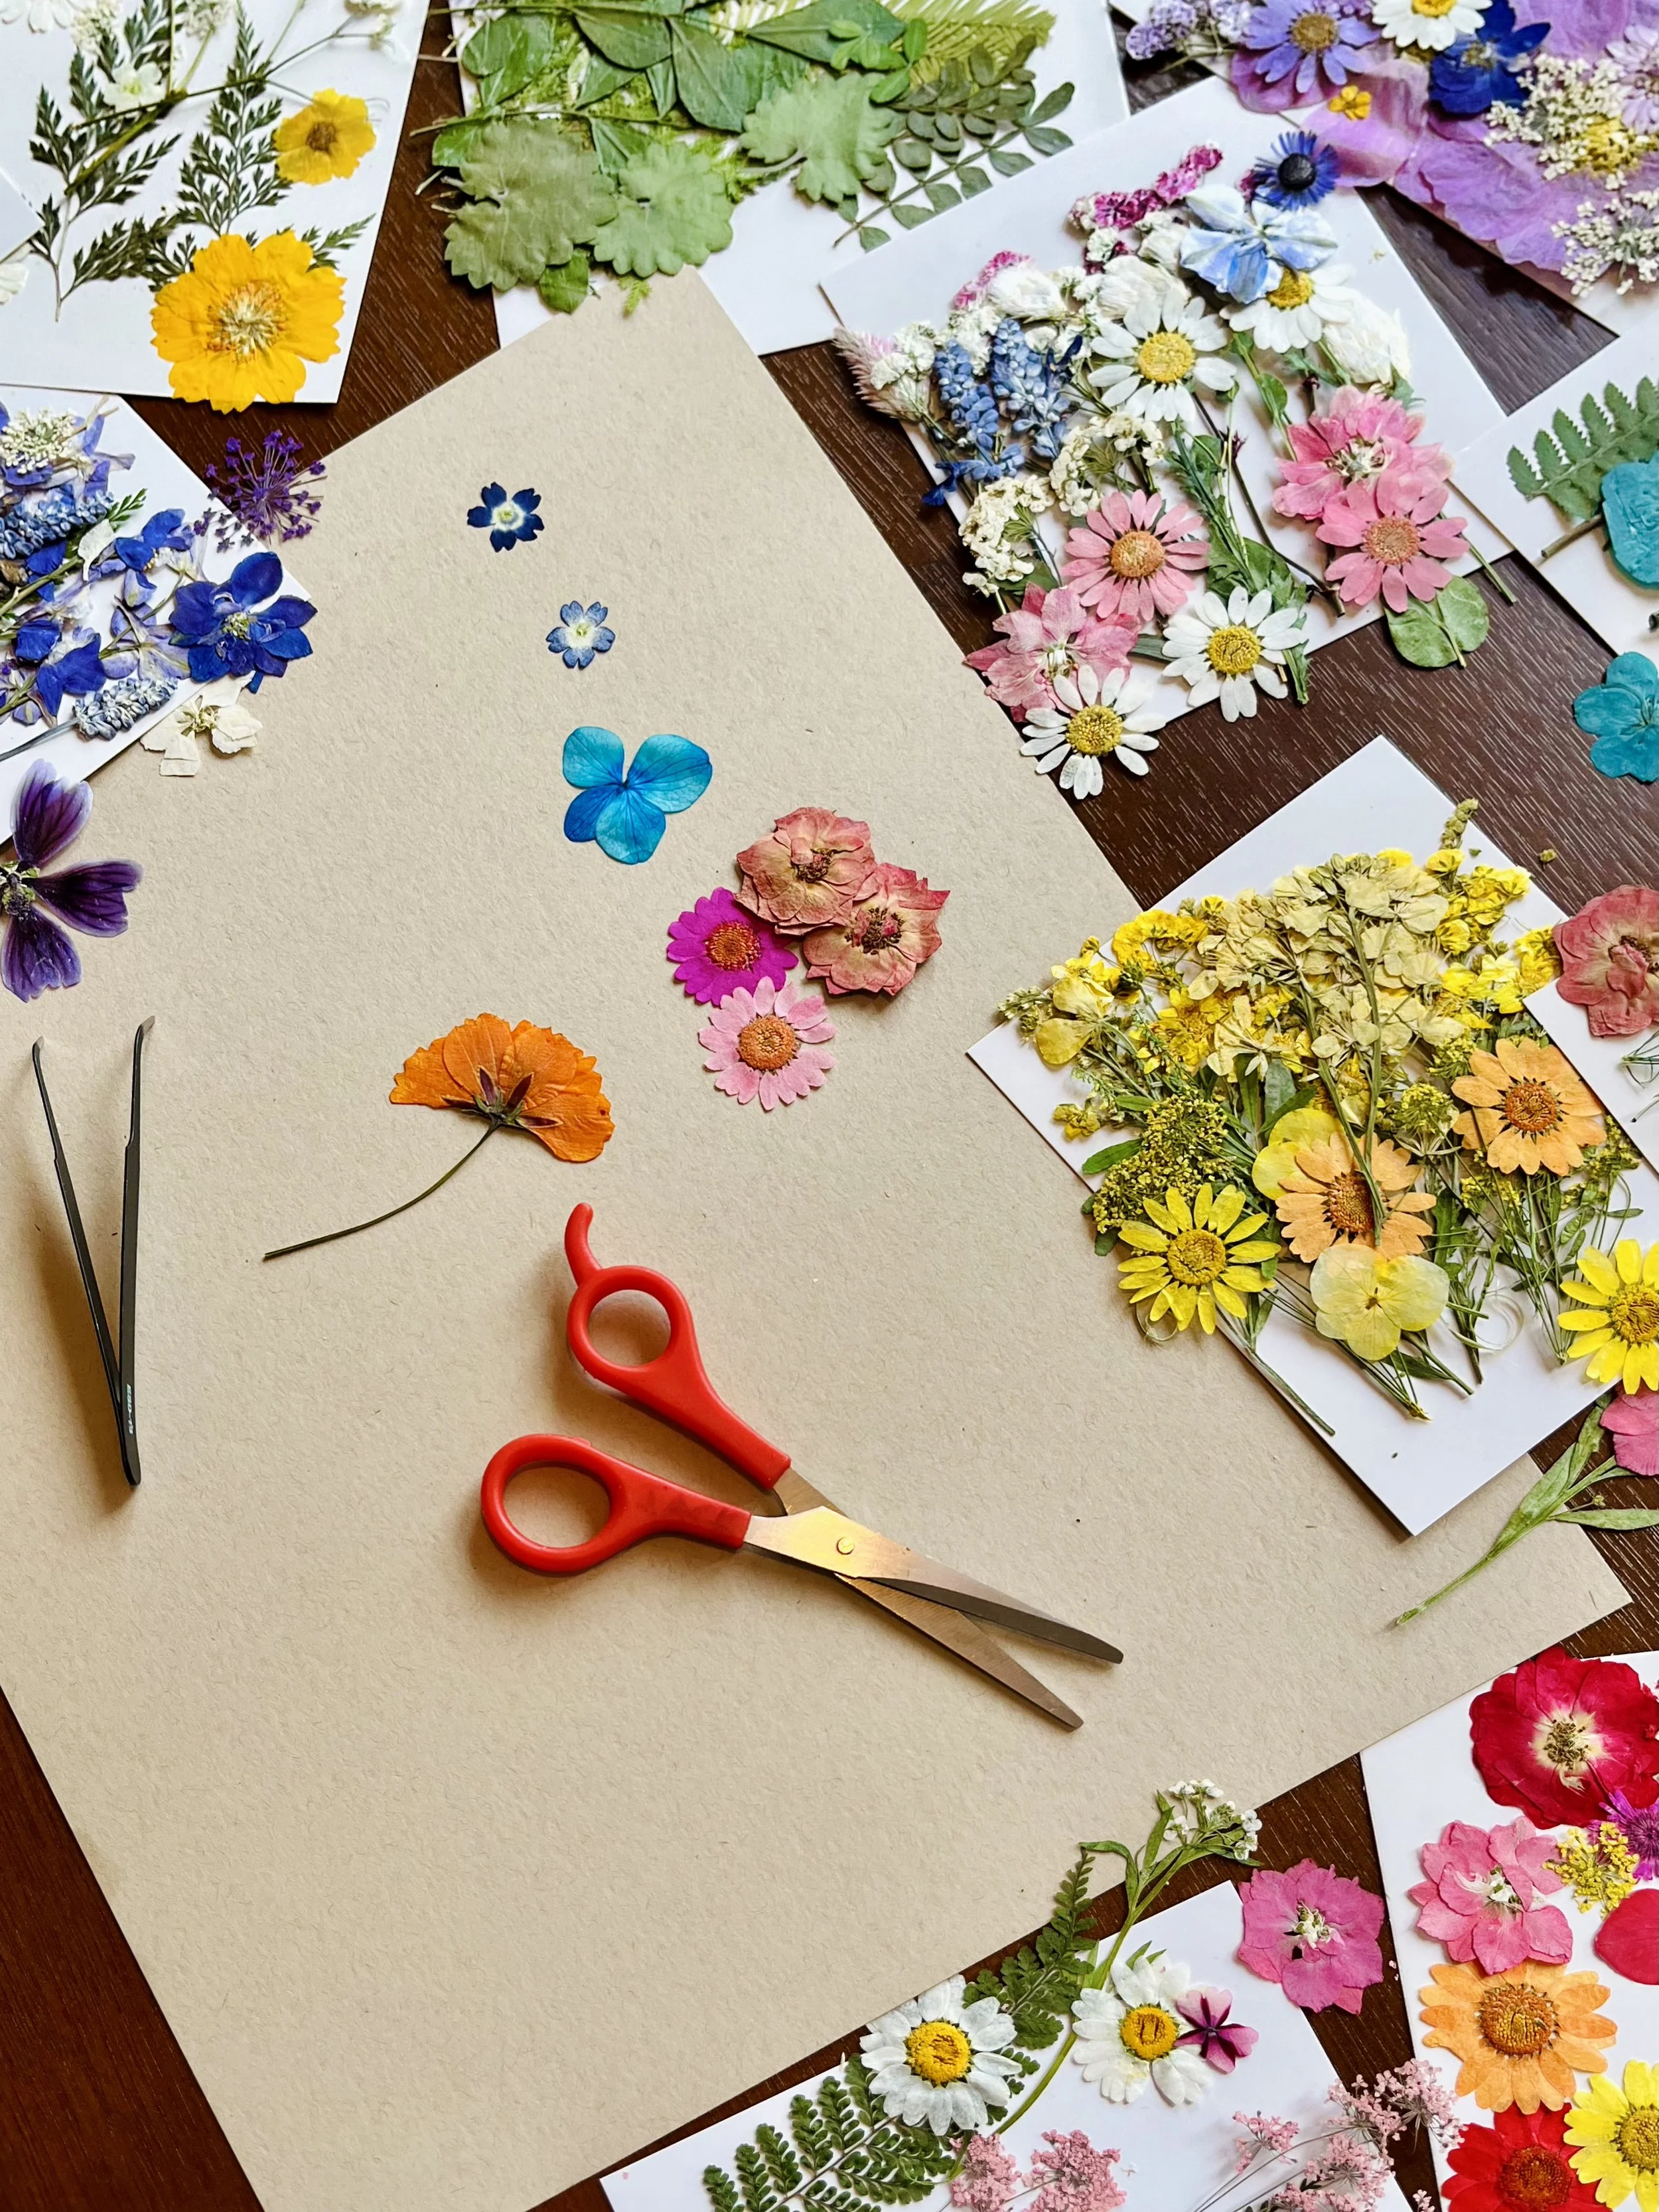
Heavy-duty cardstock in tan, white, black, or whatever color you’d like
Pressed flowers: many come in sets with tweezers for easier handling — here are some of the names of the packs we like to use: Lovely, Vivid, Gorgeous, Delicate, Rose & Hydrangea, Daisies, Greenery, Chrysanthemums, Multi Color
Adhesive: Modge Podge, Aileen’s Tacky Glue, or something similar that’s clear once it dries
Frame & glass, if you’d like to frame the final piece
Project Steps
Honestly, there’s nothing too technical about any of it—putting this together just takes a little time and patience. The most challenging part is that the flowers can be really delicate, but a light touch and some tweezers can make things easier.
Otherwise, here are a few general steps and tips that helped while creating this:
Make a guide: on a piece of scrap paper, sketch out the general placement for the people you’re including & write the name of each of their flowers, too. You may want to group people together similar to how it’d look in a family tree, by immediate family, marriage, generations, etc., or if you’re doing a different kind of family, by friend groups, in order of how people have connected over time, or grouped together based on other shared commonalities.
Collect your supplies: hit your local craft store or go online to find the types of dried flowers you’ll need—and if you can’t find a specific one, perhaps just browse for something similar in shape/color that will work instead.
Do a dry run: on a piece of the cardstock, lay out the flowers, leaves, vines, etc., by starting to arrange them according to the placement guide you sketched. Start from the center and add, remove, and move around the elements until you have a general idea of what you’d like to do.
Snap a photo of the dry-run composition: take a quick pic with your phone so you have a second layout to refer back to.
Assemble & adhere: set a second piece of cardstock next to the dry-run version and begin moving elements from that demo version to the second piece, this time using adhesive. You can use a toothpick to add bits of glue to the backs of the pressed flowers and/or use tweezers to dip parts of the flowers & stems into the glue.
Double-check it: after your composition begins coming together, let it dry for a few hours and then add in anything else you’d like. Once everything is dry, gently pick it up to ensure there are no pieces that move/fall out. If anything is loose, gently glue it back into place. Frame the piece if that’s your style, or just leave it as-is if not.
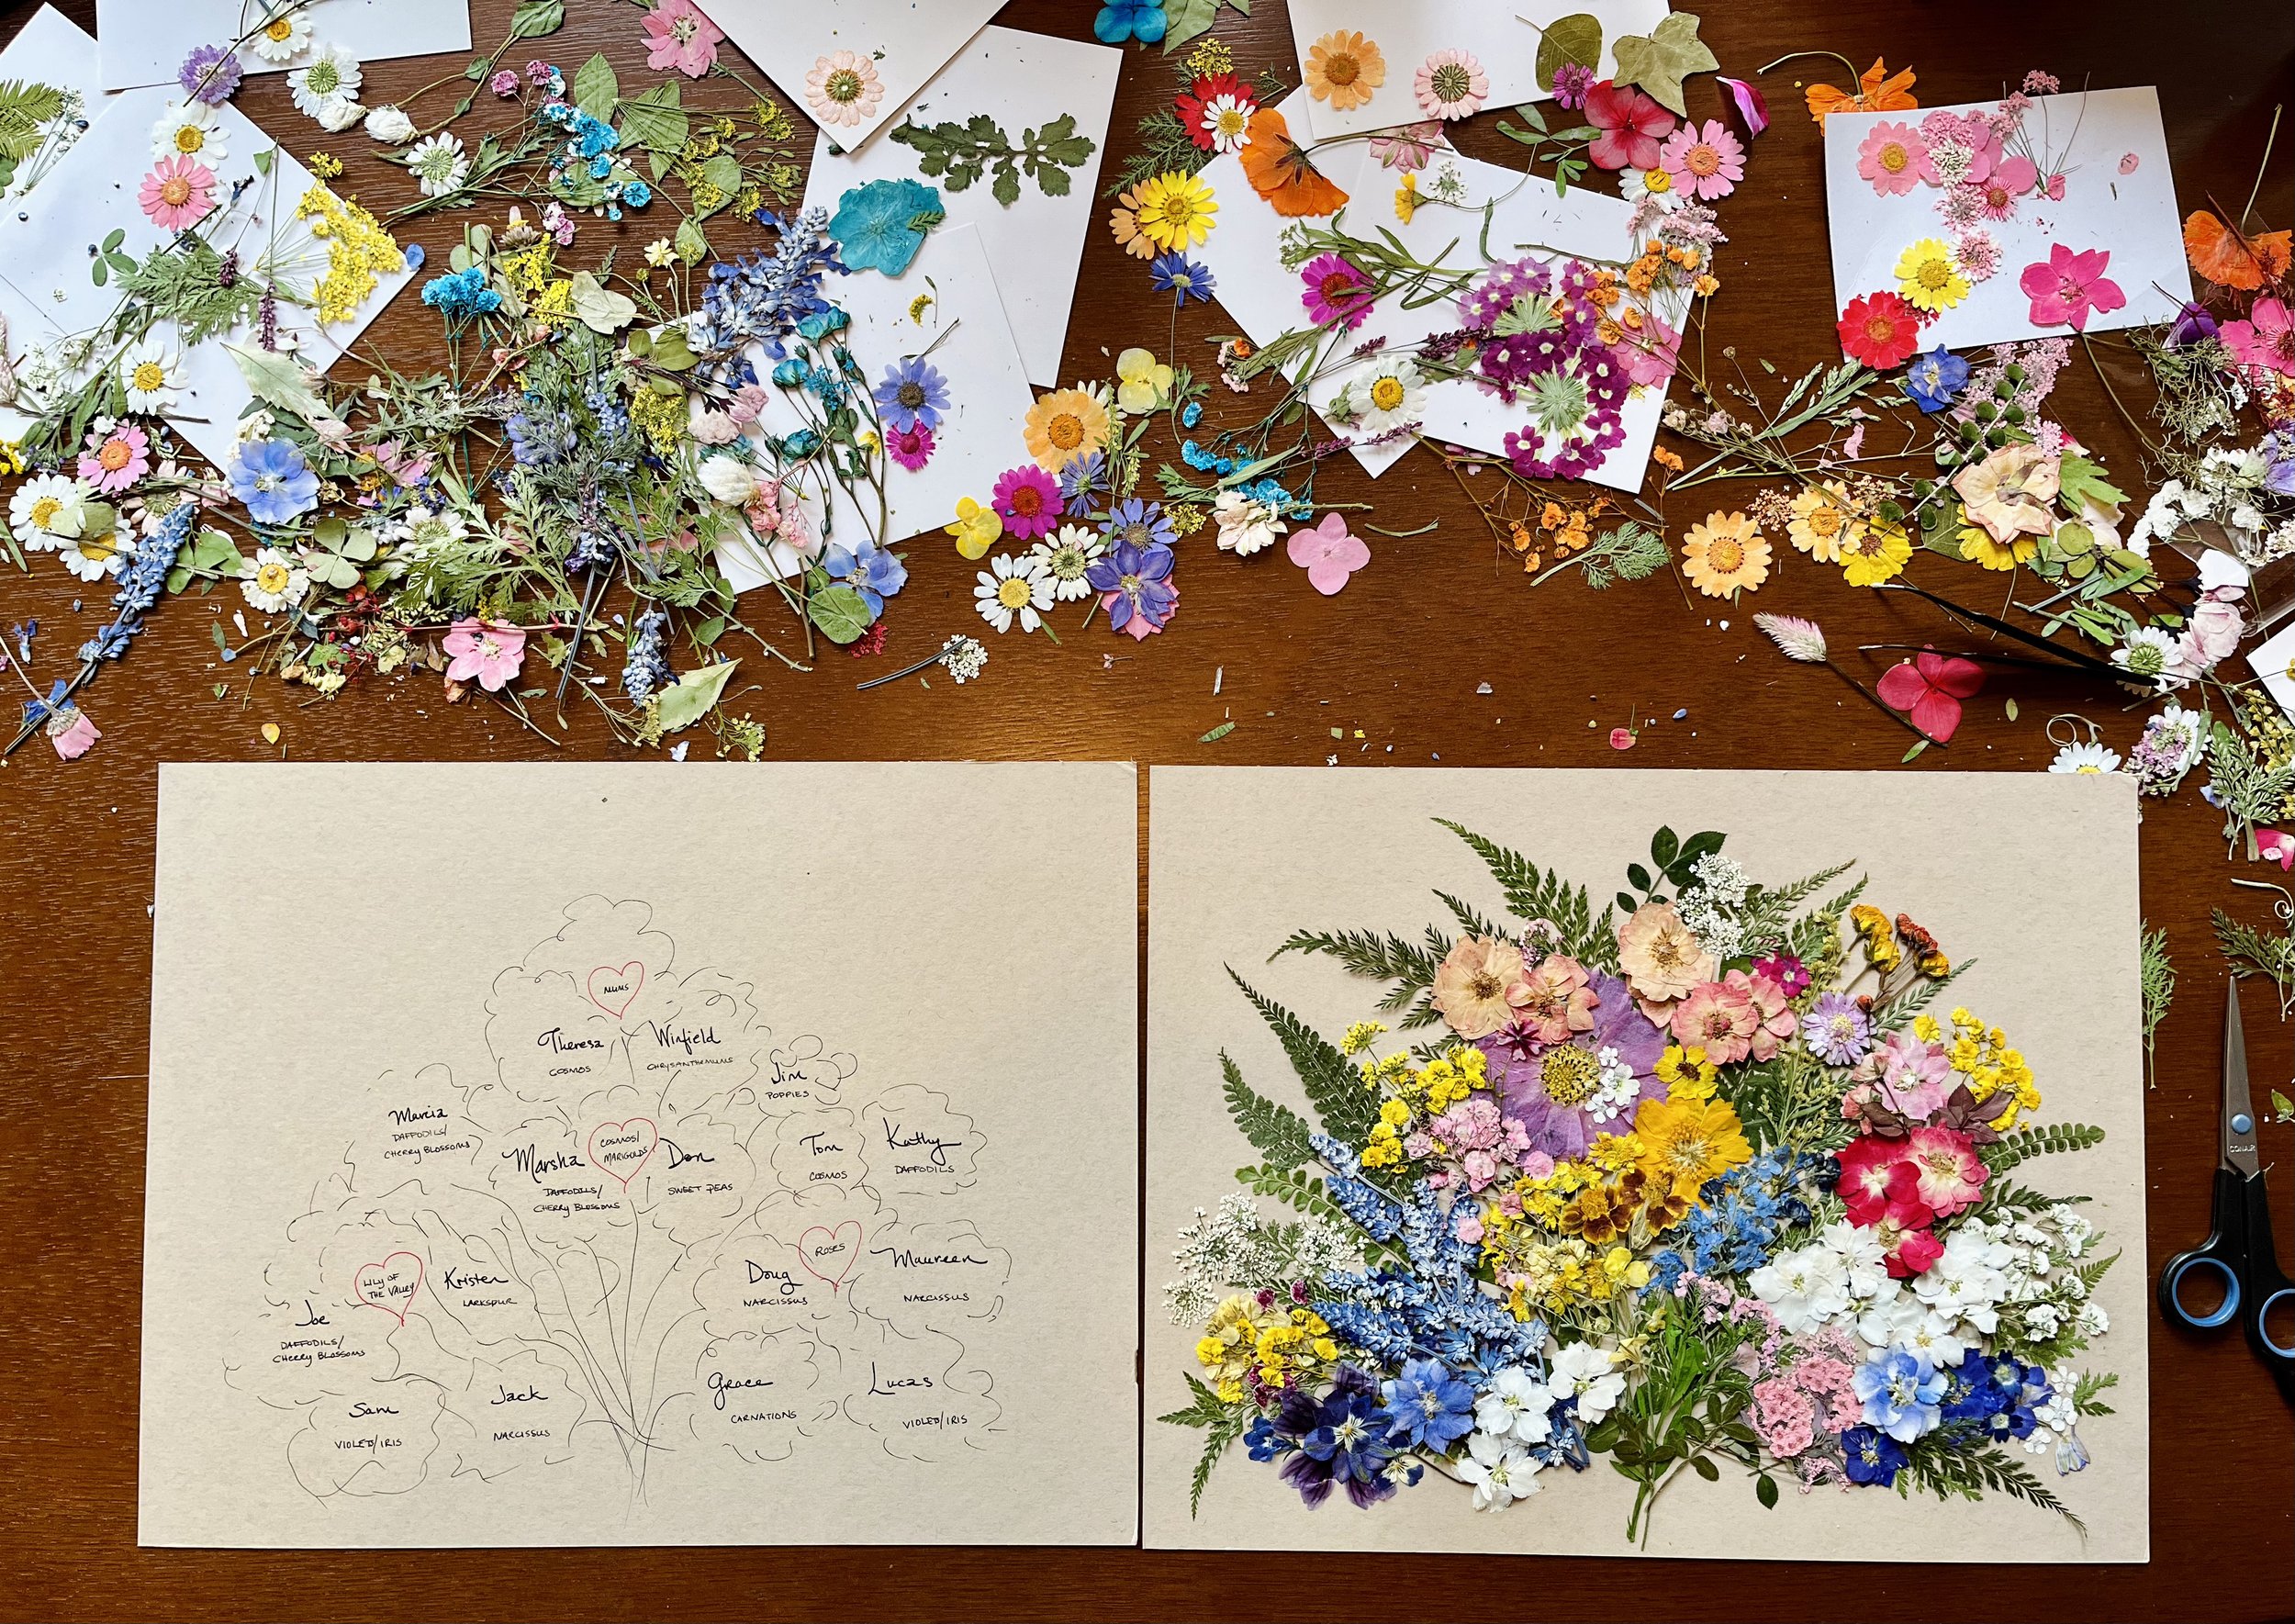
Option: you may want to add names, important dates, or other written elements to your piece, just as you would with a family tree. In this case, we opted not to—and packed our garden so full of flowers that there wasn’t space for that anyway—so we gave the recipient a second piece of matching cardstock with the general placement and names of all of the people represented within the garden.
You may also like…
More floral-inspired crafts & recipes
We respect your privacy, and when you click “Sign Up,” you are confirming that you agree that information you submit will be protected and used as permitted in our privacy policy and terms. If you do not agree to any of these terms, you may not submit this form.


